
I’ve grown ginger in everything from an old paint bucket to a proper clay pot—and let me tell you, once you harvest your own, store-bought ginger never feels the same. Ginger isn’t just another spice; it’s a little powerhouse that adds warmth to your food, eases digestion, and even helps with those annoying seasonal colds.
And here’s the good news: you don’t need a big garden to start. A balcony, a sunny corner in the kitchen, or a small terrace will do the trick. With the right soil and a bit of patience, you can enjoy organic, chemical-free ginger that actually tastes fresh.
Why Grow Ginger at Home?
Freshness You Can Smell
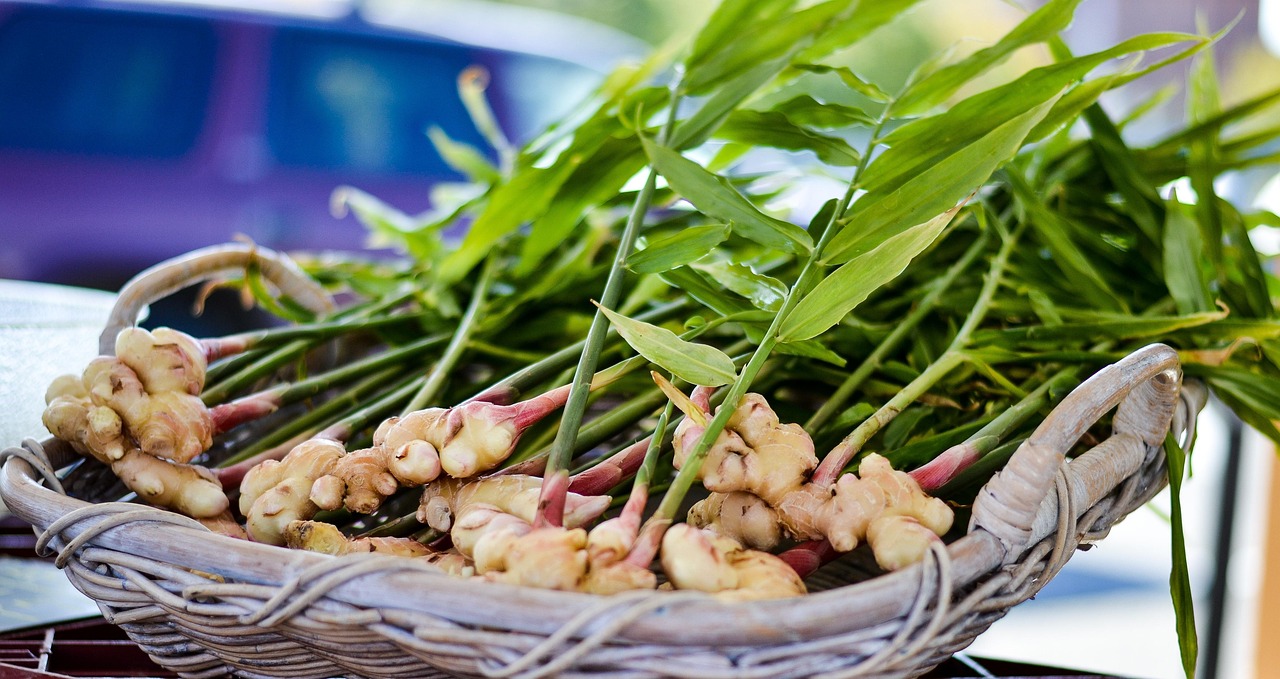
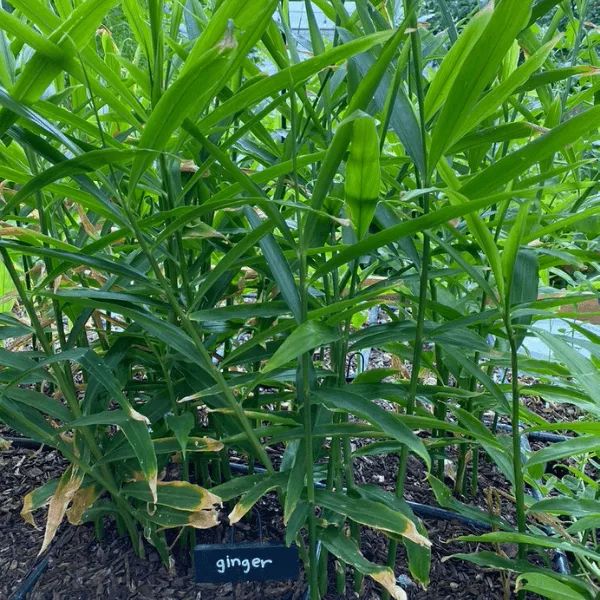
The ginger you buy at the market often spends weeks in transit and storage. By the time it reaches you, much of its aroma is gone. When you pull a ginger rhizome out of your own pot, the sharp, earthy fragrance tells you exactly why it’s worth growing at home.
Save a Few Trips (and Rupees)
Ginger isn’t always cheap. Prices spike off-season, and you still get older, less flavorful pieces. A single rhizome planted at home can multiply into a generous harvest, giving you more than enough for your tea, curries, and pickles.
No Chemicals, Just Compost
Commercial ginger is often treated with fertilizers and sprays. When you grow it yourself, you know exactly what went into the soil. A handful of kitchen compost or vermicompost is all it needs. Safer for you, better for the planet.
What You Need Before Planting
Before you press that first rhizome into the soil, set yourself up for success:
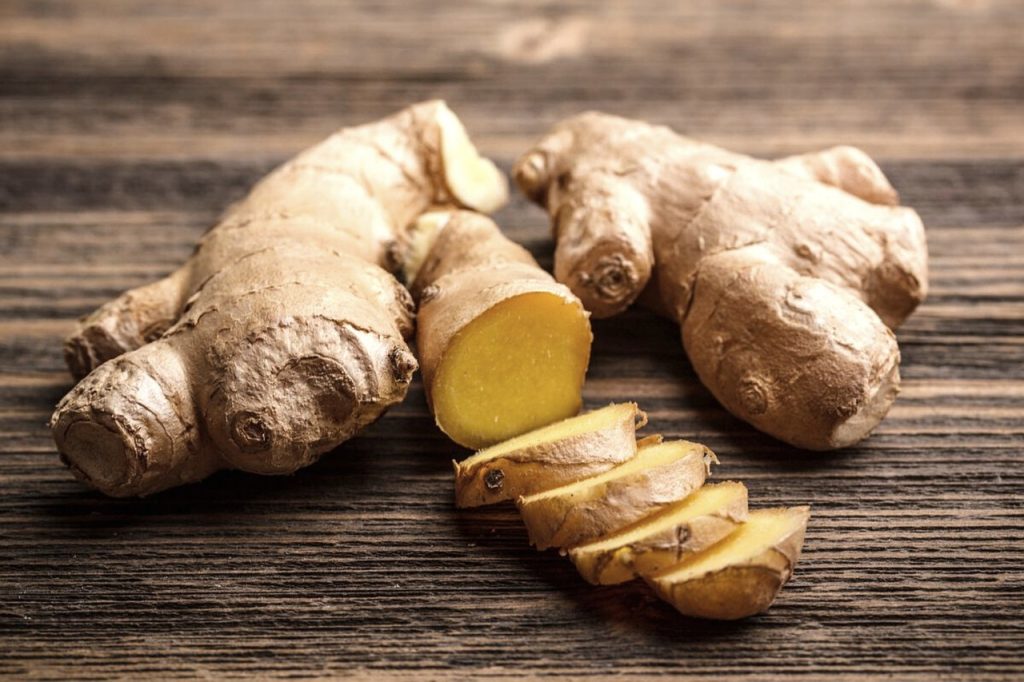
- A healthy ginger piece — Pick a plump, organic rhizome with little “eyes” (buds). That’s where the magic starts.
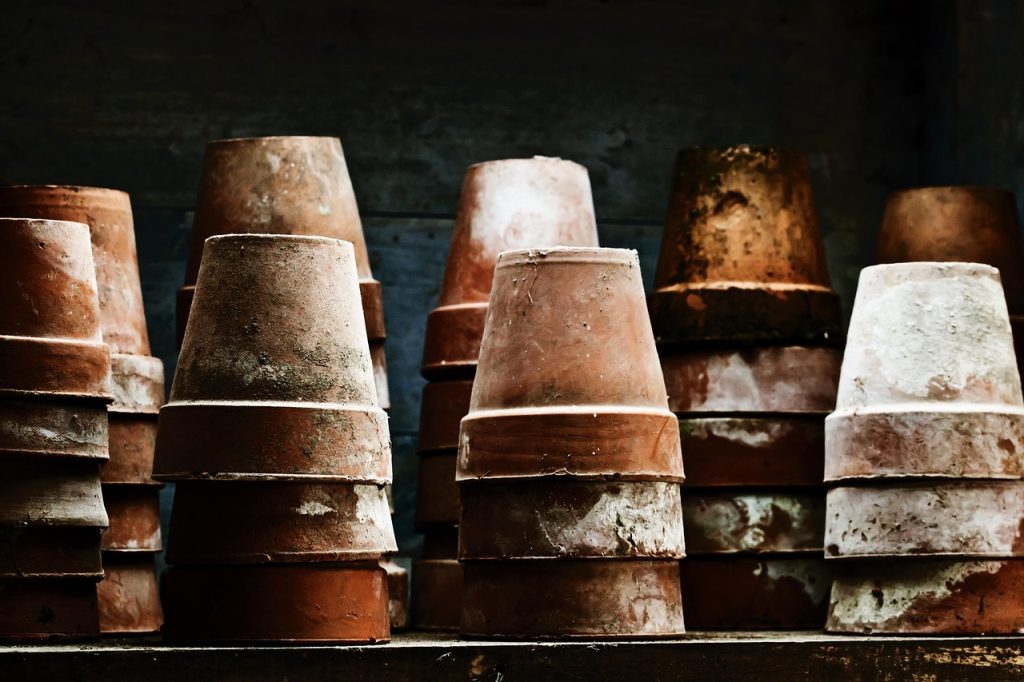
- The right pot — At least 12–14 inches deep, and wide enough for the roots to spread. Don’t skip drainage holes—ginger hates sitting in water.
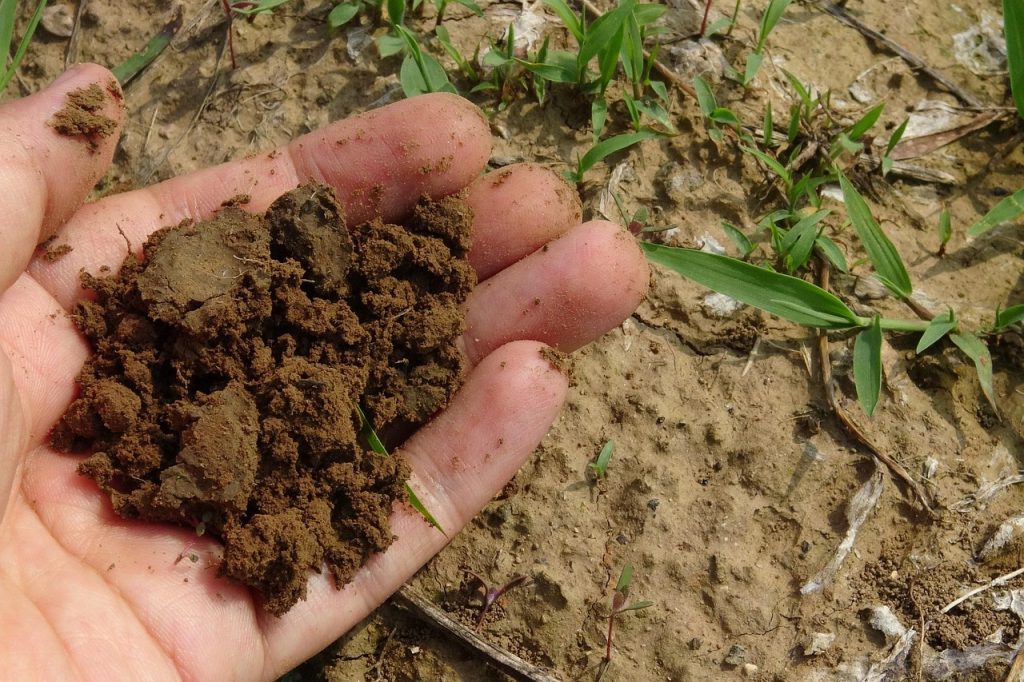
- Good soil — Loose, crumbly, and rich in compost. Heavy clay soil will suffocate the rhizomes.
- Basic tools — Nothing fancy. A small trowel and a watering can (or even a recycled bottle with holes in the cap) work perfectly.
Step-by-Step Guide to Growing Ginger in Pots
Step 1: Pick the Right Rhizome
Choose a ginger piece that looks alive—firm, juicy, and showing small buds. Shriveled ones rarely grow.
Step 2: Prep the Pot
Fill it with loose soil mixed with compost. Tap the sides so it settles, and make sure the water drains freely.
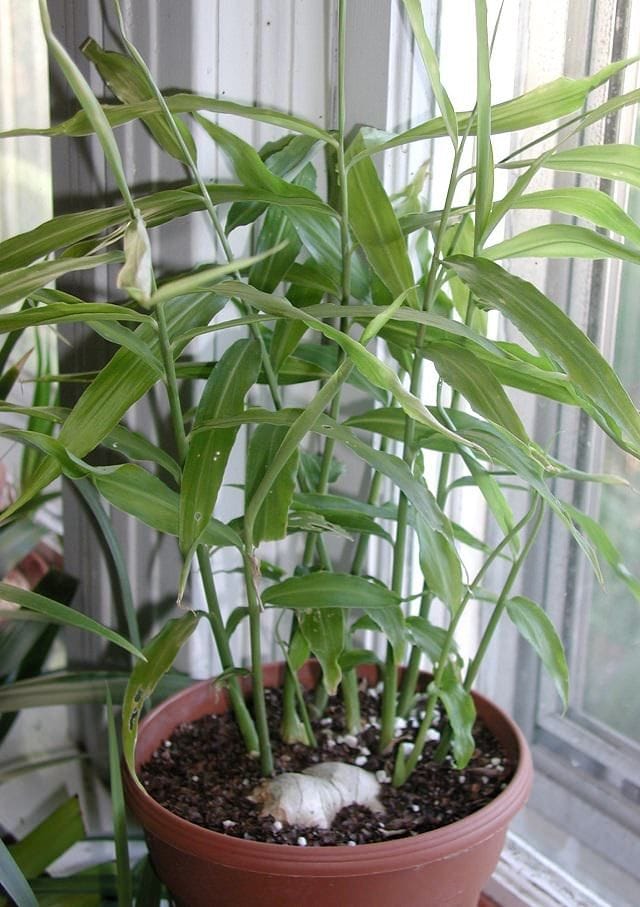
Step 3: Plant It Sideways
Lay the rhizome flat, with the buds pointing up. Cover lightly with 1–2 inches of soil. Don’t bury it deep; ginger likes to be close to the surface.
Step 4: Water Smartly
Keep the soil moist, not soggy. Think damp sponge, not wet towel. Place the pot in partial shade—too much sun dries it out quickly.
Step 5: Wait It Out
This is where patience comes in. Sprouts usually appear in 2–4 weeks, and full maturity takes months. Add a little compost every few weeks and let the plant do its thing.
Best Growing Conditions
- Temperature: Ginger loves warmth—20–30°C is perfect. Below 15°C, it sulks.
- Humidity: It’s a tropical plant, so mist the leaves if you’re growing indoors. Outdoors, keeping the soil damp is usually enough.
- Feeding: Every month or so, give it a boost with compost or vermicompost. Skip chemical fertilizers if you want the real organic experience.
Harvesting Your Ginger

Here’s where the fun begins.
- When it’s ready: Around 8–10 months in, the leaves will yellow and start drying out. That’s the plant’s way of saying, “I’m done.”
- How to dig it up: Loosen the soil gently with your hands or a small fork. Don’t stab at it—fresh rhizomes bruise easily.
- Save some for next time: Always keep a few healthy pieces with buds aside. That way, you’ll never have to buy ginger again.
Tips for Small-Space Gardeners
- Use vertical pots or grow bags if you don’t have much floor space. They’re roomy enough for rhizomes to expand.
- Balcony corners with indirect sunlight are perfect. Morning sun, afternoon shade.
- Companions: Mint and turmeric grow happily alongside ginger, making your little garden greener and more productive.
Common Problems & Fixes
- Yellow leaves? Probably too much water or poor soil. Let the top inch dry out before watering again.
- Root rot? Always use pots with drainage holes. If rot sets in, cut out the bad parts and replant the healthy ones.
- Pests? Skip chemicals. A neem oil spray every two weeks or a mild soap solution keeps bugs away.
Conclusion
Growing ginger at home isn’t just about saving money—it’s about the satisfaction of pulling something fresh from your own pot. It’s slow-growing, yes, but the rewards are worth it: organic flavor, healthier meals, and the quiet joy of nurturing a plant from root to harvest.
And remember, you don’t need a big backyard to get started. A single pot on your balcony is enough. Plant one rhizome today, and in a few months, you’ll wonder why you ever bothered buying ginger from the store.