Person misting potted plants on a wooden table during a sunny October afternoon — banner for October Gardening and Indoor Plant Projects Before Winter Arrives.”

October always feels like a bittersweet farewell to the vibrant outdoor symphony of summer. The earthy smell, leaves turn golden, and everything seems to slow down. But for me as a gardener , it’s not an end; it’s a beautiful transition, a secret window of opportunity before winter truly clamps down. This is the month where w I lay the groundwork for next spring’s explosions of color and bring the joy of greenery indoors to keep me company through the colder months.

Forget the long guides; let’s get straight to our end-of-season garden checklist for your yard and your windowsills.

Why October Is the Most Underrated Month for Gardeners

Every October, I grab my favorite worn gardening gloves, knowing deep down that this is my last, best chance to prep the soil before the ground locks up solid. There’s a certain peaceful urgency to this work. The sun is lower, the light is golden, and the frenzy of summer maintenance is over.

For bulbs, this warm-soil, cool-air equation lets them establish strong root systems crucial for surviving the freeze and pushing out early blooms. For houseplants, a slow and steady transition now ensures they don’t get shocked when the heater finally kicks on.That’s why i believe this is the most strategic month for every gardener.

Outdoor Prep: Plant, Divide, and Protect Now
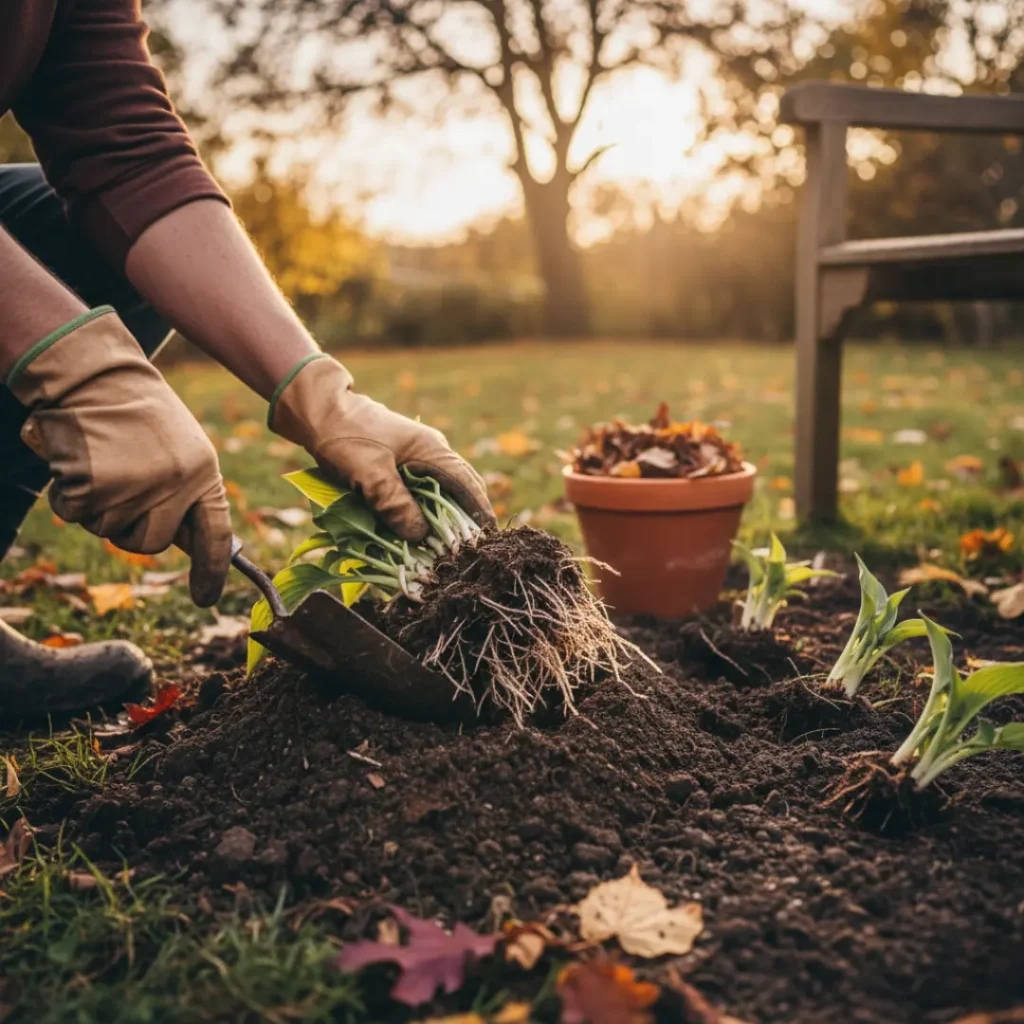
Gardener planting bulbs in soil during October afternoon, preparing the garden for winter.
Plant your fall bulbs now — October’s cool soil is perfect for next spring’s blooms.

Trust me on this one: I never wait for the first hard frost. I’ve found that the soil is actually still quite warm in October, and that’s exactly what you want! That lingering warmth is key to encouraging strong root growth before your plants settle into their long, cold dormancy.

1. Plant the Promise of Spring

Now is truly the best time to get your fall bulbs in the ground. I always tell myself — if it’s before Thanksgiving, I still have a chance, but earlier is even better!

  • Focus on Daffodils and Alliums: These are the best bulbs to plant in October because most hungry critters (deer, squirrels) leave them alone.
  • The Soil Secret: I never plant a bulb without tossing in a spoonful of bone meal or organic compost into the hole first. It gives them the essential nutrients they need to set strong flowers.
  • Planting Depth: A good rule of thumb is to plant the bulb three times as deep as it is tall.

2. Divide and Conquer Perennials

If plants like daylilies, hostas, irises, or mums have been overcrowded or blooming poorly, they need dividing now.

  • Dig the entire clump up carefully.
  • Use a sharp shovel or knife to separate the plant into smaller, healthy sections. You can use anything actually.
  • Replant the smaller sections immediately. This rejuvenates the parent plant and gives you “free” new plants for next year.

3. Protect and Tidy Your Garden

This simple work now saves you huge headaches later and ensures your plants survive the winter. Like mine do !

  • Mulch is Your Blanket: Apply a thick 3- to 4-inch layer of shredded leaves or wood chips around all new or tender plants. This blanket prevents the ground from repeatedly freezing and thawing, which can push plants out of the soil (frost heave).
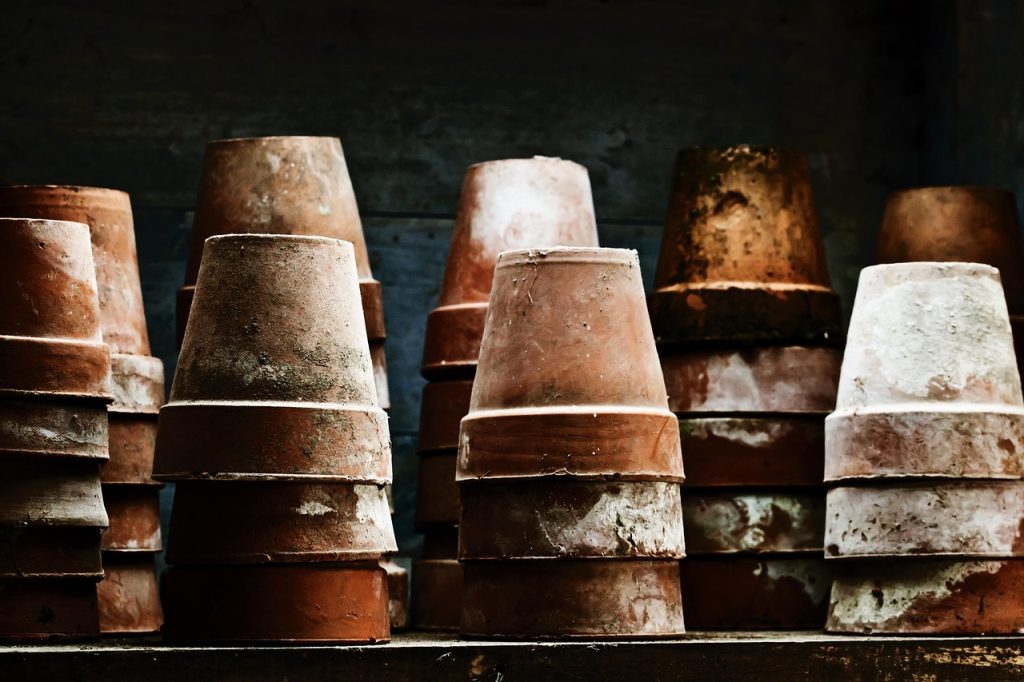
  • Tidy Pots: Empty and clean all unused containers, especially terracotta, and store them indoors. This prevents cracking and saves you time next spring.

Indoor Transition: Moving Plants Before the First Frost
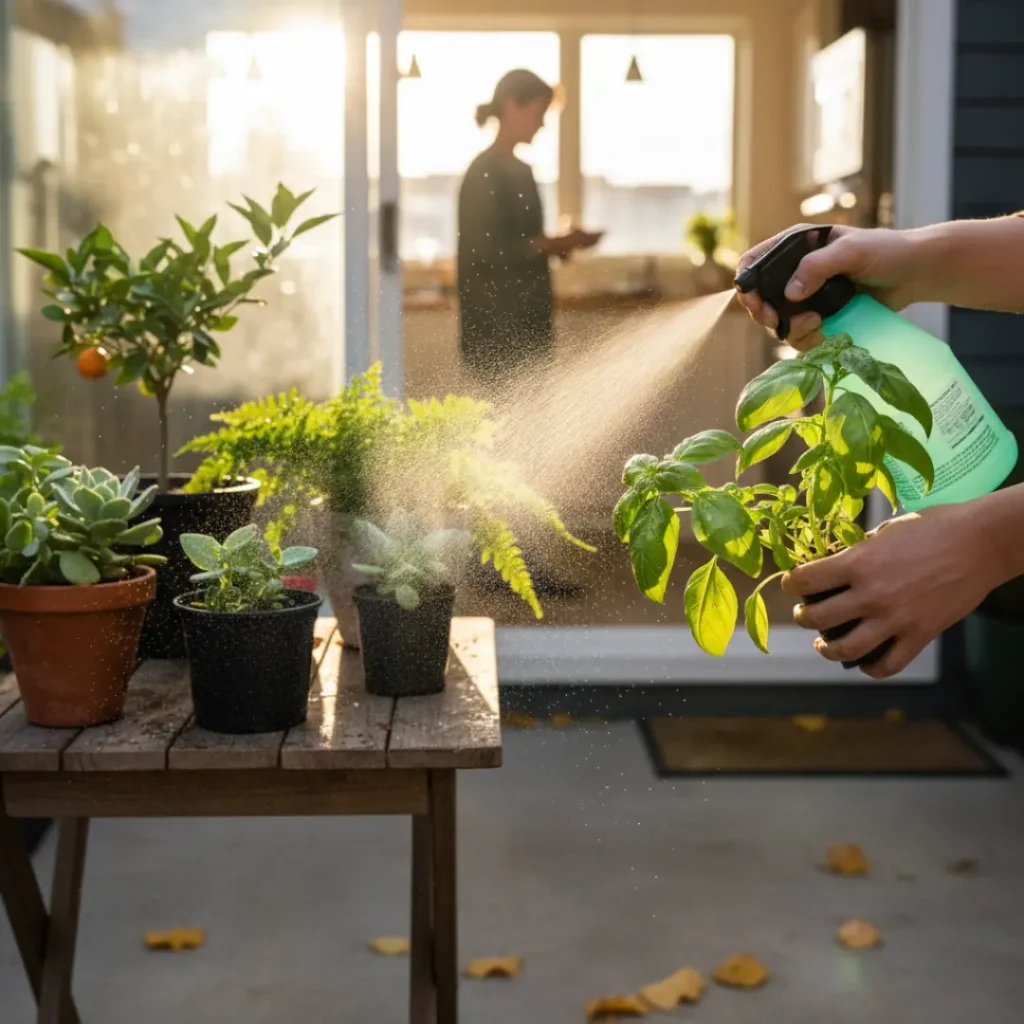
Person misting potted plants on a wooden table outdoors during October sunlight as part of indoor plant care before winter.
Give your plants a little care now — they’ll thrive through winter’s chill

Listen to your friend who learned the hard way: Don’t wait for the first frost. i am you warning! Tender tropicals and herbs need to be indoors when nighttime temperatures consistently dip below 50∘F (10∘C).

This process covers how to move plants indoors before winter safely.

1. The Pest Quarantine Protocol

Your plants are covered in summer hitchhikers. You must clean them before they infect your existing houseplants.

  • Inspect Thoroughly: Look under every single leaf and around the stem for tiny webs, fuzzy white spots, or sticky residue.
  • Shower Time: Give the plant a thorough rinse with a strong stream of water outside to blast off surface pests.
  • Treat: Apply an insecticidal soap or diluted neem oil solution to the entire plant (top and bottom of leaves) once before the move. Don’t skip this part !

2. Acclimation and Placement

  • Go Gradual: Don’t shock the plant by taking it straight from a sunny patio to a warm, dim living room. If possible, move them into an intermediate space (like a cool sunroom or garage) for a week first.
  • Identify Overwintering Outdoor Plants: Bring in things like citrus, tropical hibiscus, large ferns, and tender succulents.
  • Address Low Light: Winter light is weak. If you have any houseplants that thrive in low light, they will be okay, but for your sun-lovers, consider placing them in your brightest south or west window. If that’s not enough, a small, inexpensive LED grow light focused on your plant shelf can work wonders.

Creative Indoor Plant Projects for Fall
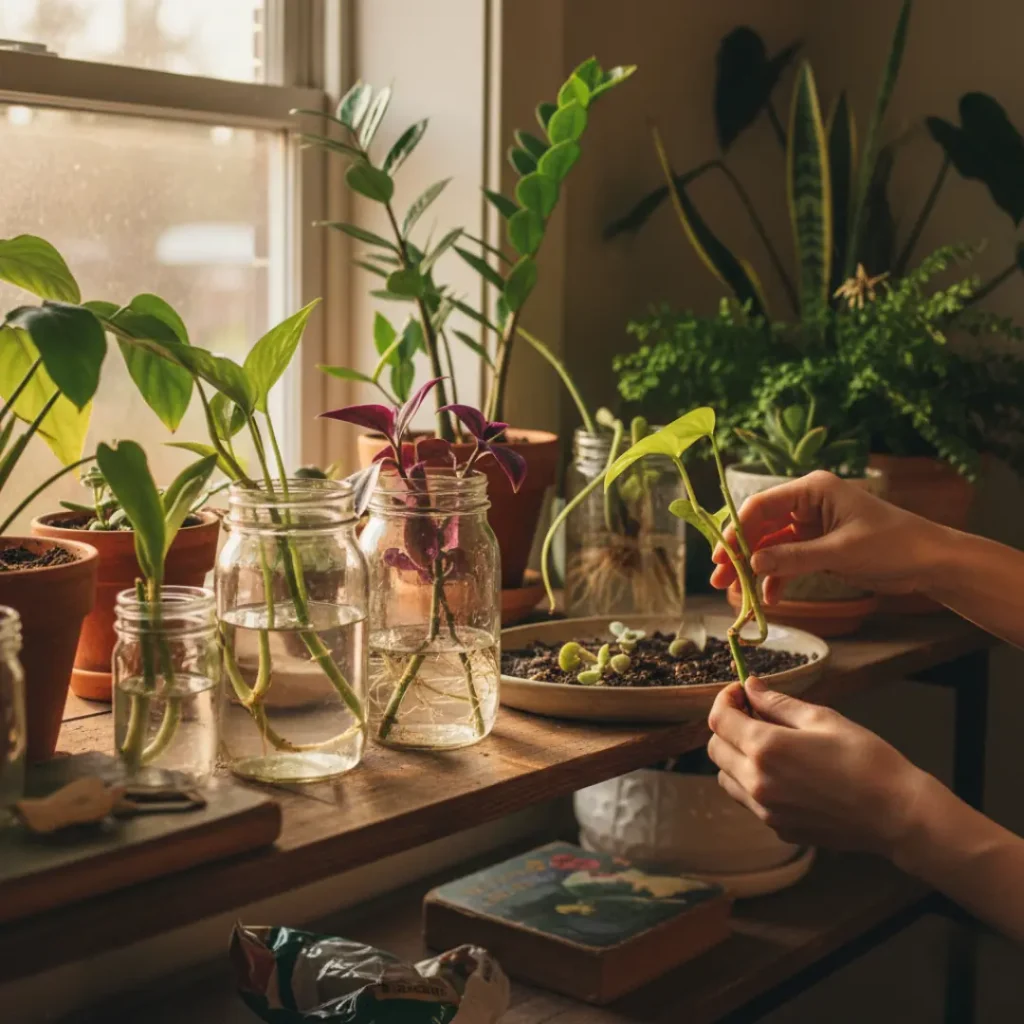
“Person propagating houseplants in jars of water by the window during fall — part of indoor plant projects for autumn.”
Propagate your favorite plants indoors — fall is perfect for growing new greens before winter.

Just because the ground is cold doesn’t mean your green thumb has to go dormant! These simple fall indoor gardening ideas keep the joy of growing alive.

1. Simple Indoor Propagation Projects

Propagation is a satisfying, low-cost way to make more plants and keep your focus on growth.

  • Water Wonders: Take cuttings from Pothos, Philodendron, or Wandering Dude. Place them in jars of water. Last October, I started indoor propagation projects with my spider plant babies in old mason jars—they rooted beautifully by December!
  • Soil Starts: This is a good time to root succulent leaves and propagate sansevieria (snake plant) cuttings directly into dry soil.

2. Refresh Your Indoor Jungle

  • Repotting or Soil Refresh: If a plant looks tired or hasn’t been repotted in years, give it a new home or, at least, scrape away the top layer of old soil and replace it with fresh potting mix.
  • Create a Nook: Grouping plants isn’t just decoration. It creates a tiny, humid micro-climate that makes plants happier, especially when the heater is on full blast.

Keep the Green Alive — Winter Houseplant Care Routine
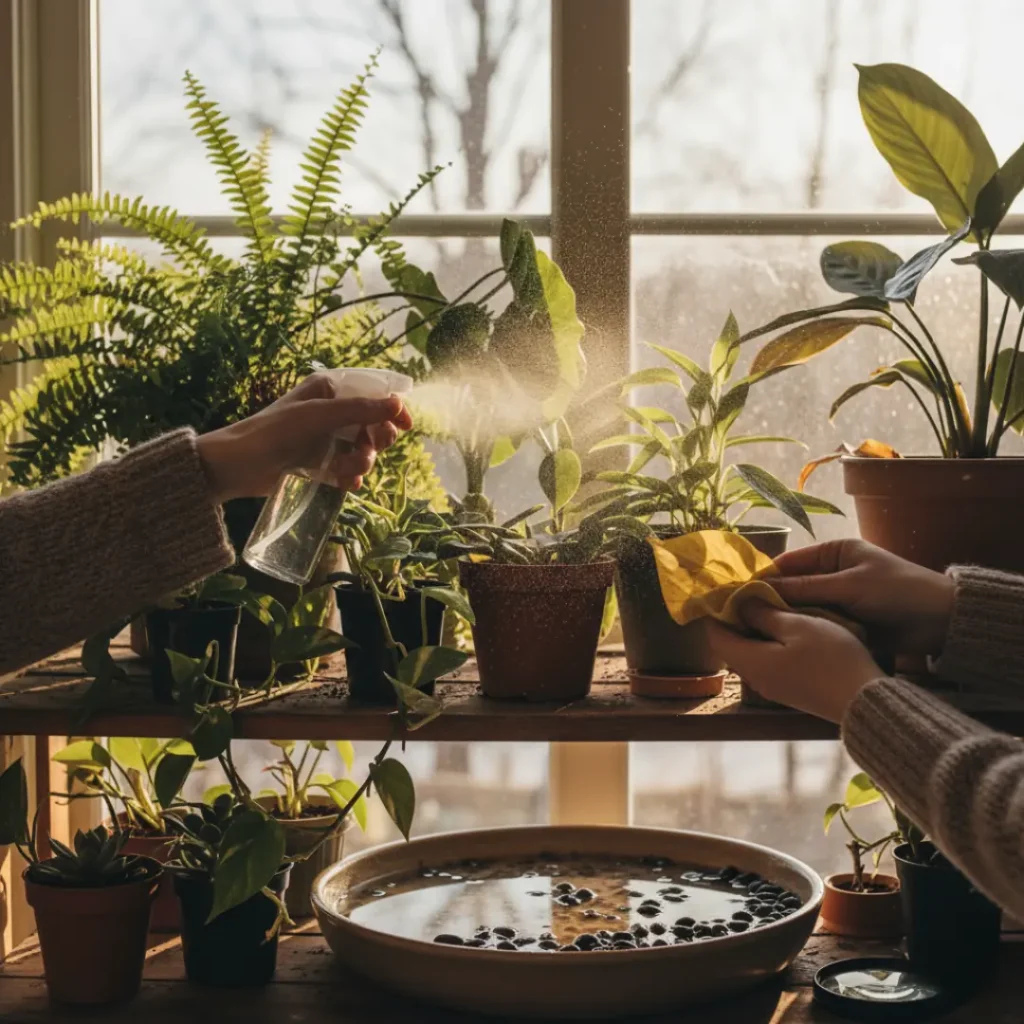
Hands misting and cleaning houseplants by a sunny window as part of winter houseplant care routine
Mist, clean, and care — simple winter routines keep your houseplants happy all season.

Your houseplant care before winter must change completely. Summer habits will kill plants in winter. It’s that simple.

Key Winter Adjustments

  • Water Less (Significantly!): The #1 winter killer is overwatering. Your plants are resting. Wait until the top two inches of soil are bone dry before watering again.
  • Increase Humidity: Heaters dry the air, which attracts pests like spider mites. Group your plants together or use pebble trays (trays of water with a layer of pebbles to keep the pot elevated).
  • Pest Watch: If you spot pests, don’t panic. Gently wipe leaves with a damp cloth or spray with a dilute insecticidal soap.

It’s okay if one or two yellow leaf drops ; plants shed old leaves to conserve energy during their rest period.

Enjoy Your Cozy Plant Season
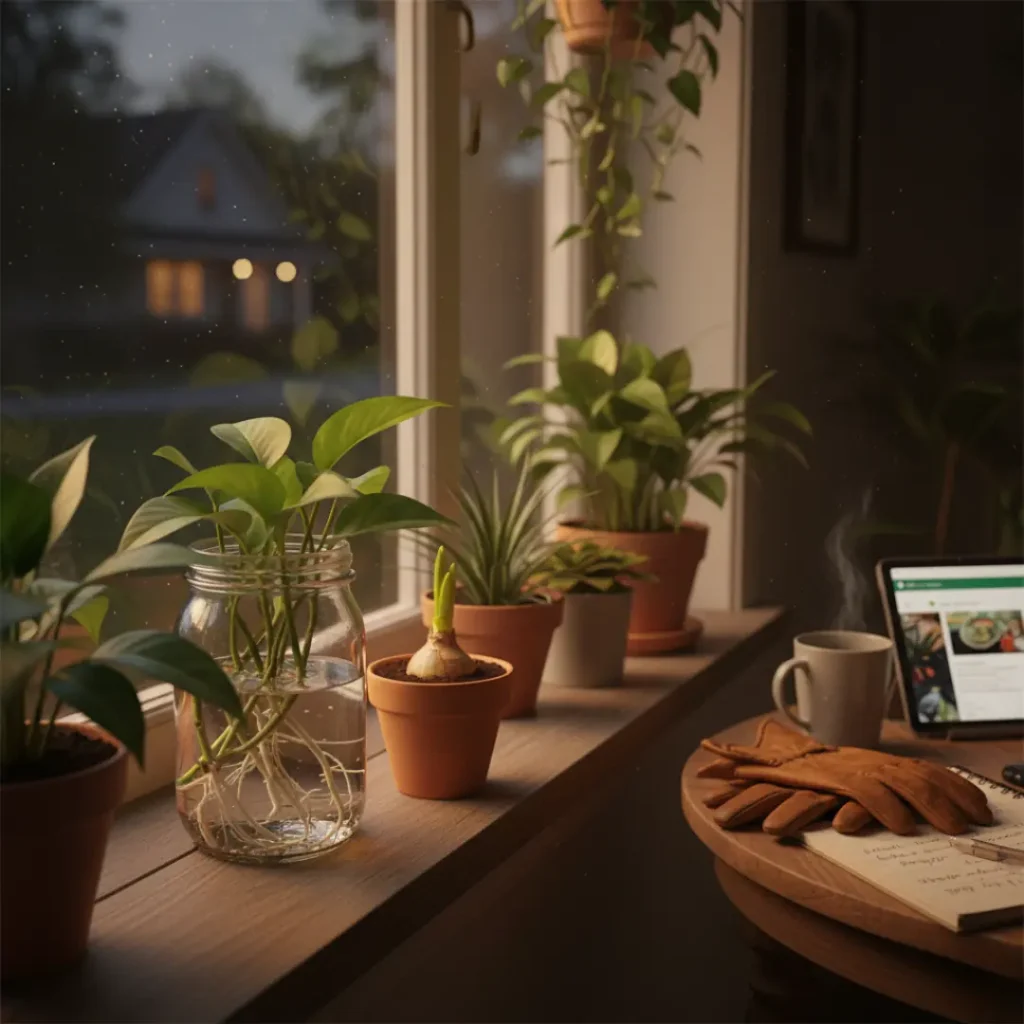
Indoor plants by the window with a warm cup of coffee and gardening gloves, creating a cozy winter planting setup.
Enjoy your cozy planting session — a quiet moment to end the season with green warmth.

October always reminds me that gardening isn’t just about flowers and foliage — it’s about rhythm, patience, and trust. This season teaches us that even as everything quiets down, life is still moving beneath the surface.

So don’t let the season’s end feel like goodbye. Pick one project today — plant a bulb, start a propagation jar, or simply move one green friend indoors. You’ll thank yourself when spring rolls around and your home is still full of life.

I’m just a weekend gardener who believes every window deserves a little green. And trust me — October is the month to make it happen. Comment down how you prep for october . I’ll be Taking notes from you guys !


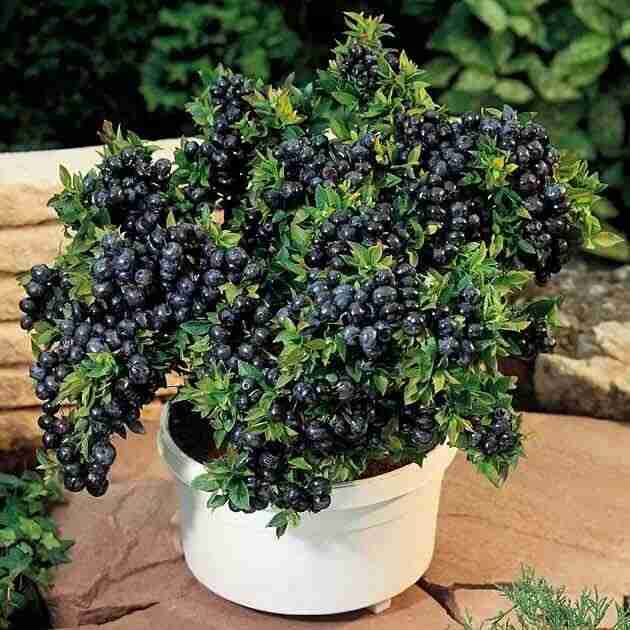
Grow Blueberries in Your Home Garden – A Complete Guide

Why Blueberries Deserve a Spot in Your Garden

When most people picture a home garden, they think of tomatoes, herbs, or maybe a lemon tree. But if you want something rewarding and surprisingly low-maintenance, growing blueberries in your home garden is a choice you won’t regret.

These little berries are nutritional powerhouses, packed with antioxidants, Vitamin C, and fiber. Every handful is both sweet and a natural boost for your health.

The best part? Blueberries are perennial shrubs. Once established, they’ll keep producing year after year. With good care, some bushes stay productive for over 20 years — like having a fruit subscription straight from your backyard.

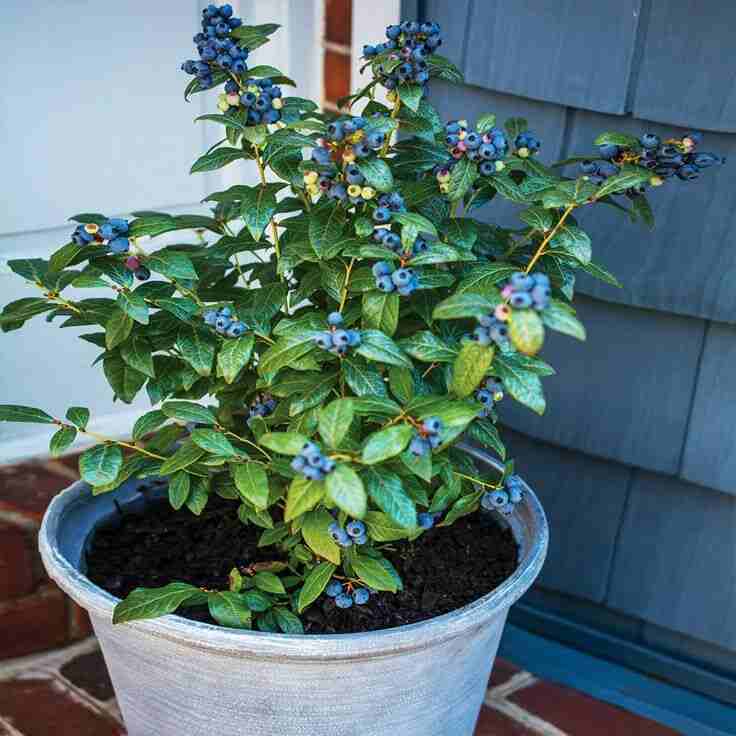
And don’t worry about space. Blueberries grow just as well in pots on a sunny balcony as they do in open soil, making them perfect for both city and suburban gardeners.

Tip: In the first two years, focus on strong roots, not heavy harvests. Be patient — the payoff is baskets of juicy berries for summers to come.


Choosing the Right Variety for Your Climate

Before you buy, it helps to know which blueberry varieties for home gardeners suit your area best.

  • Highbush Blueberries – Common in supermarkets and ideal for regions with cold winters.
  • Rabbiteye Blueberries – Thrive in hot, humid climates and are perfect for southern gardens.
  • Lowbush Blueberries – Compact and charming. Great in containers or as groundcover.

Trick: Don’t plant just one. Blueberries yield more — and taste sweeter — when different varieties cross-pollinate.


Soil Preparation – The Secret to Happy Blueberries

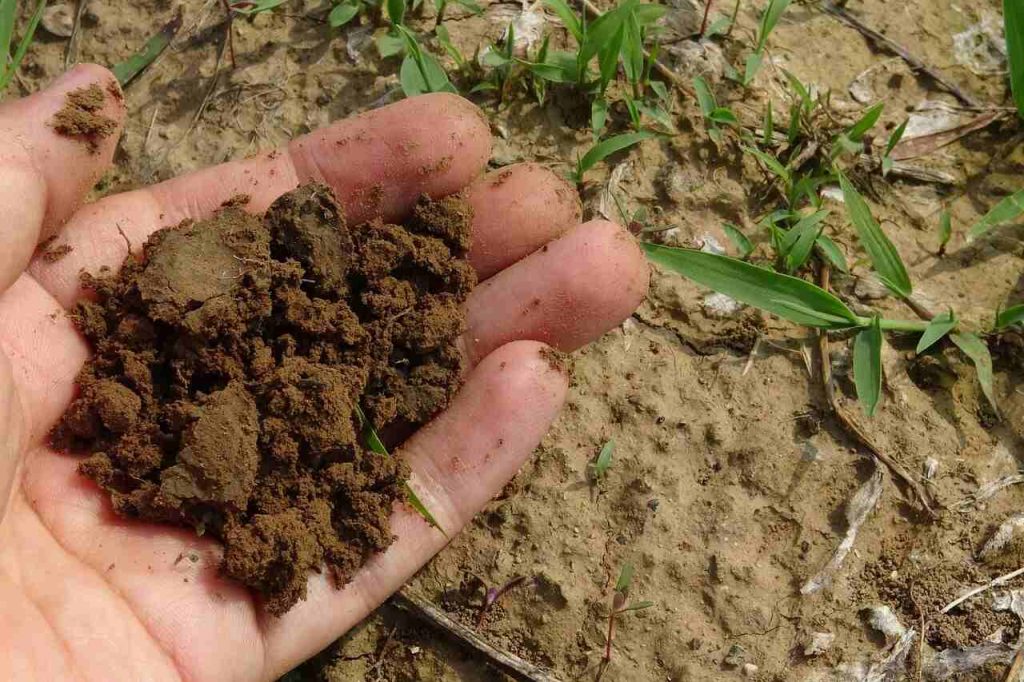
Blueberries are picky about soil. Their roots crave acidity, with the ideal blueberry soil pH requirement between 4.5 and 5.5.

To get there, mix in organic matter like peat moss, pine needles, or composted sawdust. This lowers pH, boosts fertility, and keeps the soil light and airy.

Heavy clay? Don’t struggle. Build raised beds or use large pots filled with a custom acidic mix for better drainage.

Pro Tip: Test your soil before planting. Adjusting pH afterward is much harder.


When and How to Plant Blueberries

The best time to plant blueberries is early spring or fall, when cooler weather helps roots settle in. Many gardeners prefer fall because plants establish before the growing season begins.

Space bushes about 4–5 feet apart, with rows 6–8 feet apart. Place the root ball level with the soil surface, then backfill with your prepared acidic mix.

Top it off with mulch — pine bark, needles, or wood chips — to keep moisture steady and weeds down.

Tip: In year one, remove flowers. It feels tough, but it helps the plant focus on roots and rewards you with better harvests later.


Watering and Feeding Your Blueberry Bushes

Consistency is everything. Blueberries dislike extremes — too dry and they droop, too wet and roots may rot. Aim for 1–2 inches of water weekly, through rain or drip irrigation.

Avoid overhead sprinklers; wet leaves encourage fungal issues. A soaker hose or drip system is safer.

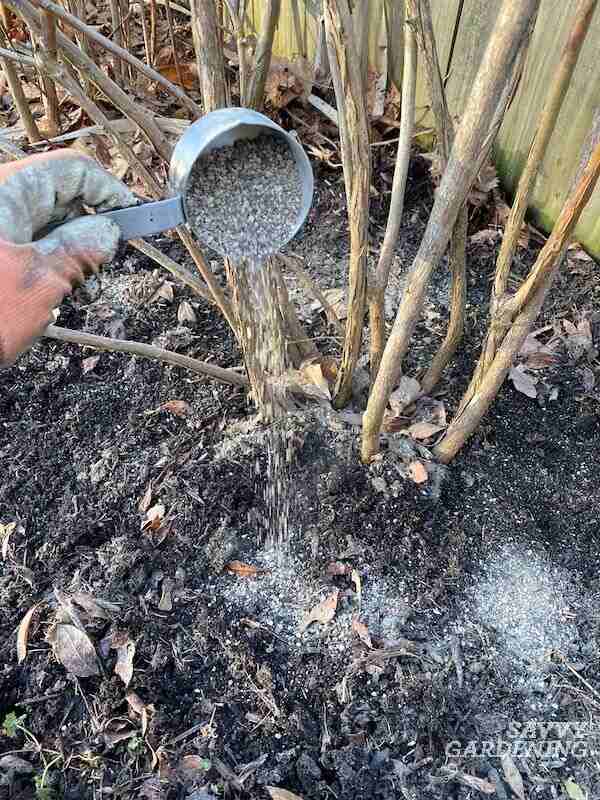
For feeding, go easy. Use a slow-release fertilizer made for acid-loving plants like azaleas. Apply lightly in spring, and again mid-summer if needed.

Trick: Think of the soil like a wrung-out sponge — moist but never soggy.


Caring for Blueberries – Pruning, Mulching & Protection

Blueberries aren’t demanding, but a little routine care keeps them productive.

  • Pruning: Do this in late winter. Cut older, weaker wood to make room for new growth. Keep pruning light in the first two years; save bigger cuts for year three onward.
  • Mulching: Spread 2–3 inches of pine mulch, needles, or wood chips around the base. This holds moisture, keeps weeds away, and maintains acidity.
  • Protection: Birds love blueberries too. Use netting or simple cages to guard your harvest.

Harvesting Blueberries at the Right Time

The best sign of when to harvest blueberries fully ripe is their color. Wait until berries turn a deep, even blue with no hint of red or purple.

Ripe berries roll off the stem with a gentle touch. If they resist, they’re not ready. During peak season, check daily — a few minutes of picking adds up quickly.

Trick: Let berries sit on the bush for 3–4 days after turning blue. That extra sun time makes them noticeably sweeter.


Growing Blueberries in Containers

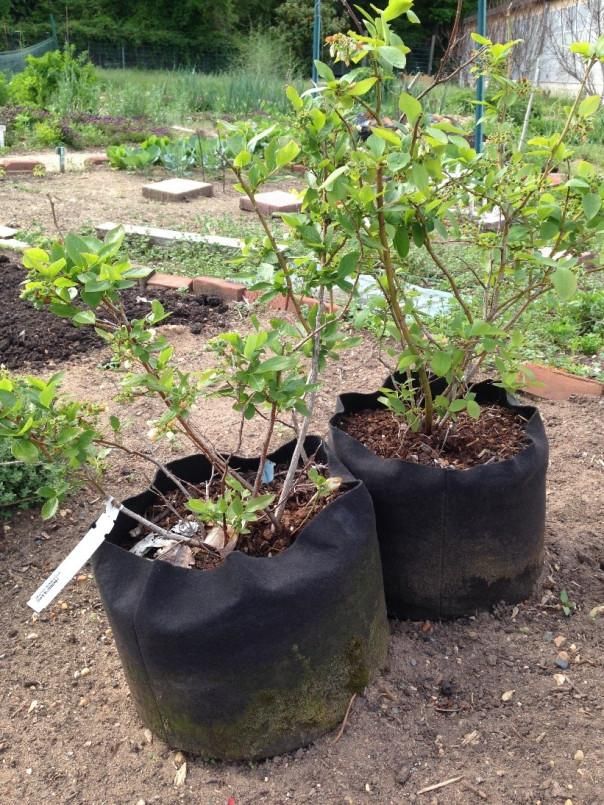
No backyard? No problem. Learning how to grow blueberries in containers lets you enjoy fresh fruit on patios and balconies.

Use a pot at least 18–20 inches wide, and pick dwarf or lowbush varieties. Fill with a light, acidic mix of peat moss, pine bark, and perlite.

Tip: Containers dry out faster than garden beds. In summer, check soil daily and water more often.

Container-grown blueberries not only feed you but also add a touch of beauty to your outdoor space.


Common Mistakes to Avoid

To avoid mistakes when growing blueberries, watch out for these pitfalls:

  • Planting in neutral or alkaline soil without adjusting pH.
  • Overwatering with sprinklers, which can invite fungal problems.
  • Sticking with a single variety, which limits yields.
  • Skipping mulch, leaving soil dry and weedy.

Trick: Companion plants like azaleas and rhododendrons thrive in the same acidic soil and look beautiful alongside blueberries.


Final Thoughts

Blueberries reward patience. The first few years are about roots, but by year three or four you’ll enjoy generous harvests that return every summer. With the right soil and care, your shrubs can keep producing for decades.

Whether you start with a single pot on the balcony or dream of a hedge in the backyard, learning how to grow blueberries at home is one of the most satisfying gardening projects. For anyone building a personal blueberry planting guide, the process is as rewarding as the harvest.

So take the plunge — your future self (and your taste buds) will thank you.

Grow Shampoo Ginger in Pots or Small Gardens—A Gentle Guide for Urban Spaces

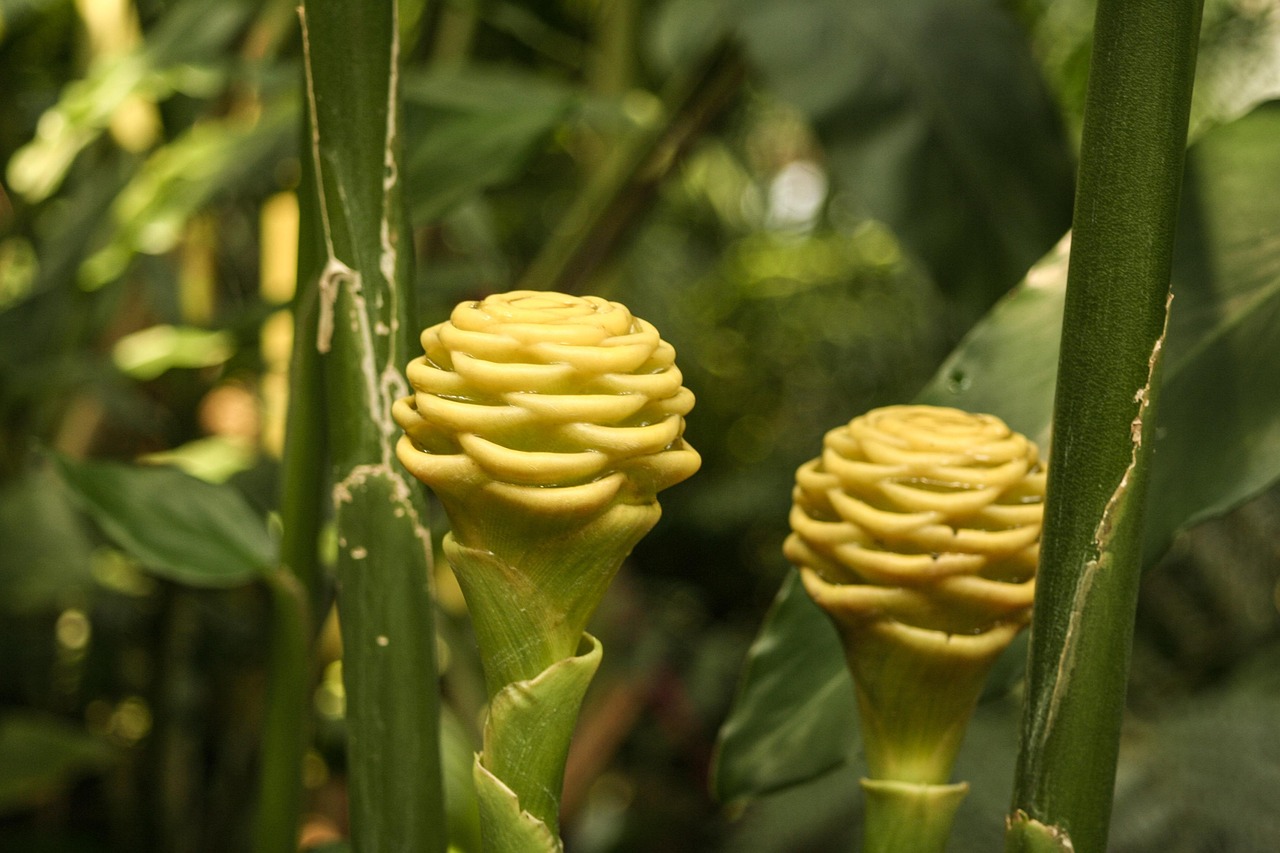
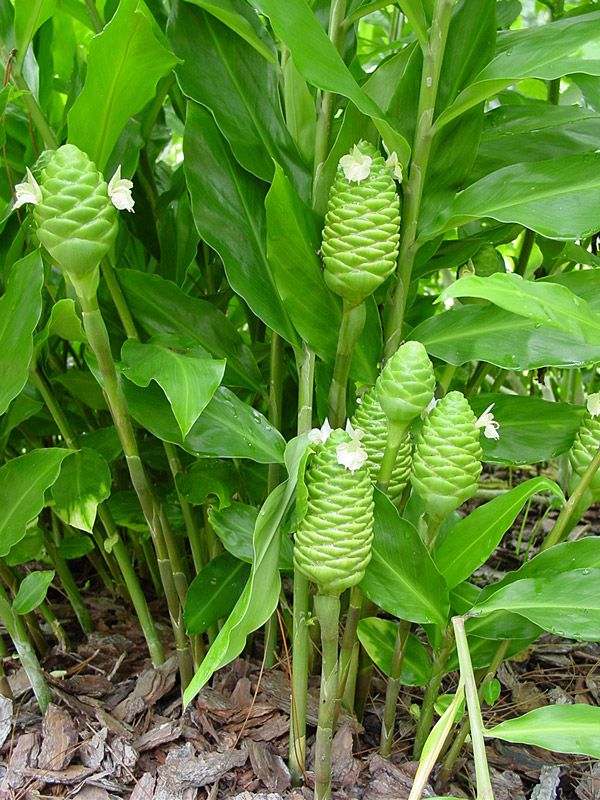
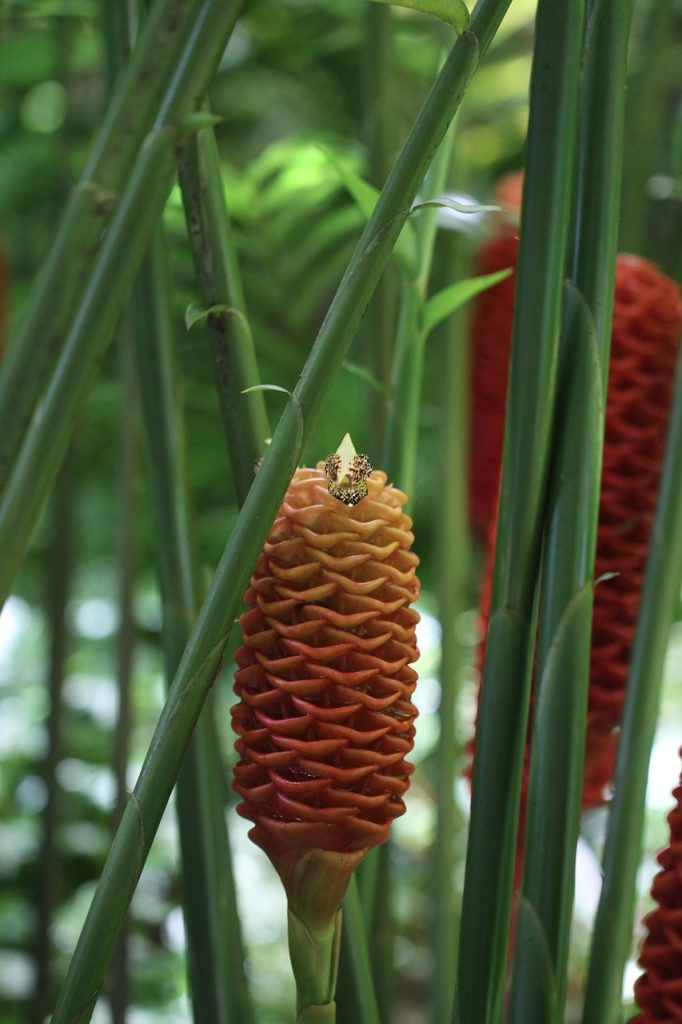
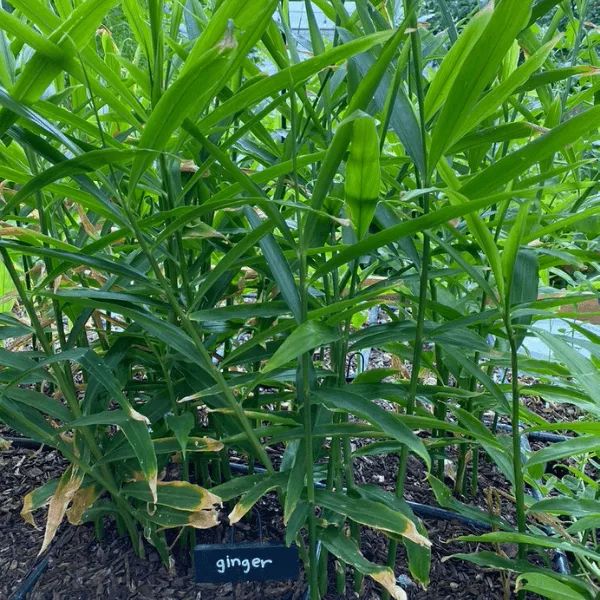
If you’ve been wondering how to grow shampoo ginger in pots, you’re not alone. This beautiful shampoo ginger plant, also called Zingiber zerumbet, has become one of my favorite additions to small spaces. Even in a balcony corner or a cozy patio, it feels like inviting a slice of the tropics home. With its cone-shaped bracts and soothing liquid, it’s more than just a plant—it’s a companion that brings both beauty and care. For anyone who dreams of filling their space with tropical plants for a home garden, shampoo ginger is the perfect, low-maintenance choice.

Step-by-Step Guide to Grow Shampoo Ginger

Choosing the Right Pot for Shampoo Ginger in Pots

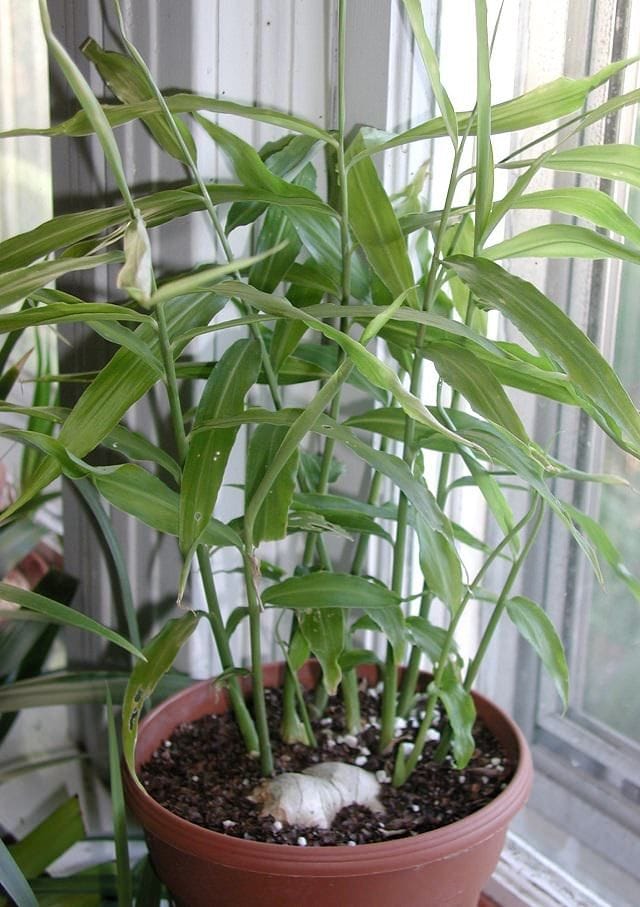
When deciding where to start your shampoo ginger in pots, remember that drainage is everything. A medium-to-large pot with holes at the bottom keeps the roots comfortable and prevents rot. If you’re planning to keep your shampoo ginger indoors, place the pot near a window with soft, indirect light. For those growing shampoo ginger outdoors, a shaded balcony or garden corner with warm air circulation works beautifully.


Best Soil for Shampoo Ginger Rhizome

The secret to healthy growth lies beneath the surface. A rich, loamy mix blended with compost and a bit of sand makes the best soil for shampoo ginger. This type of soil keeps the shampoo ginger rhizome moist but not waterlogged, which is essential for sprouting. Among exotic ginger plants, Zingiber zerumbet thrives when its roots feel warm and well-nourished.


Planting & Shampoo Ginger Propagation Tips

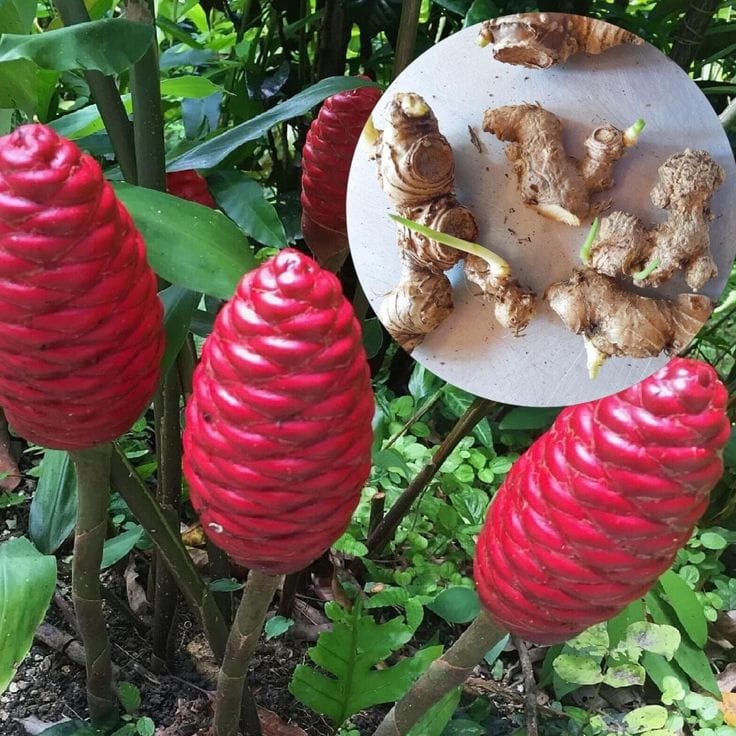
To grow shampoo ginger, start with a fresh shampoo ginger root or rhizome piece. Lay it horizontally about 1–2 inches under the soil, with buds facing upward. Cover gently and water just enough to moisten the soil. For successful shampoo ginger propagation, keep the soil consistently damp during the first few weeks. With patience, new green shoots will peek out, signaling the start of a thriving plant.


Shampoo Ginger Sunlight Requirements & Watering Needs

This plant loves balance—too much harsh light can burn its leaves, while too little can slow its growth. The ideal shampoo ginger sunlight requirements are soft, filtered light, such as morning sun or dappled shade. As for shampoo ginger watering needs, think “steady and gentle.” Keep the soil slightly moist, like a damp sponge, but avoid overwatering. Because it’s a low maintenance tropical plant, it adapts well once you find that rhythm.


Fertilizer and Shampoo Ginger Care Routine

Good soil gives your plant a strong start, but an occasional feed makes it flourish. During the growing season, a diluted organic fertilizer supports steady growth. This simple routine is the heart of shampoo ginger care. Avoid overfeeding—once every 4–6 weeks is plenty. With the right balance of nutrients, your shampoo ginger fertilizer plan will keep the plant lush, green, and ready to produce those signature pinecone bracts.

Mindful Care & Beauty Benefits

Shampoo Ginger for Hair Care and Natural Conditioner

One of the most delightful parts of growing this plant is discovering how versatile it can be. When the cone bracts of shampoo ginger mature, they release a fragrant liquid that feels silky between your fingers. Traditionally, this sap has been used as a gentle rinse, making shampoo ginger for hair care a natural alternative to chemical products. Many gardeners love to use it as a shampoo ginger natural conditioner, letting the plant’s gift nourish their hair while enjoying the satisfaction of harvesting something right from their own pots.


Why Zingiber Zerumbet is a Low Maintenance Tropical Plant

Beyond its beauty and usefulness, Zingiber zerumbet is one of those treasures in gardening that doesn’t demand too much from you. Once it’s settled in the right soil with a steady watering rhythm, it truly earns its reputation as a low maintenance tropical. Whether on a balcony, patio, or tucked into a shaded corner, this ginger quietly grows, filling small spaces with lush greenery and rewarding care with vibrant bracts—all without constant fuss.


FAQs About Shampoo Ginger

Can shampoo ginger grow indoors?
Yes, shampoo ginger indoors can thrive as long as you give it warmth and soft, indirect sunlight. A sunny window or a bright corner of your home is usually enough to keep it happy.

Can it grow outdoors in small gardens?
Absolutely. Growing shampoo ginger outdoors works well in shaded patios, balconies, or garden beds where it gets filtered sunlight. It doesn’t need much space, making it perfect for small gardens.

What’s the best way to propagate shampoo ginger?
The easiest method of shampoo ginger propagation is through rhizomes. Simply divide a healthy rhizome and plant it in well-draining soil. With regular watering and warmth, new shoots appear in a few weeks.

Why Shampoo Ginger Belongs in Every Home Garden

Learning how to grow shampoo ginger in pots is a gentle reminder that even small spaces can hold tropical beauty. With mindful watering, soft light, and simple routines of shampoo ginger care, this plant rewards you with lush greenery and those striking pinecone bracts.

For anyone looking to add fragrance, function, and calm into their routine, tropical plants for home garden don’t get much more giving than Zingiber zerumbet. From natural hair care to its soothing presence, this low-maintenance tropical turns a balcony, patio, or windowsill into a peaceful retreat.

So, start with one rhizome, a pot of rich soil, and a little patience—you’ll soon find that shampoo ginger brings not just growth, but a touch of serenity into your daily life.

Grow your own Organic Ginger at Home (Even in Small Spaces!)

I’ve grown ginger in everything from an old paint bucket to a proper clay pot—and let me tell you, once you harvest your own, store-bought ginger never feels the same. Ginger isn’t just another spice; it’s a little powerhouse that adds warmth to your food, eases digestion, and even helps with those annoying seasonal colds.

And here’s the good news: you don’t need a big garden to start. A balcony, a sunny corner in the kitchen, or a small terrace will do the trick. With the right soil and a bit of patience, you can enjoy organic, chemical-free ginger that actually tastes fresh.


Why Grow Ginger at Home?

Freshness You Can Smell

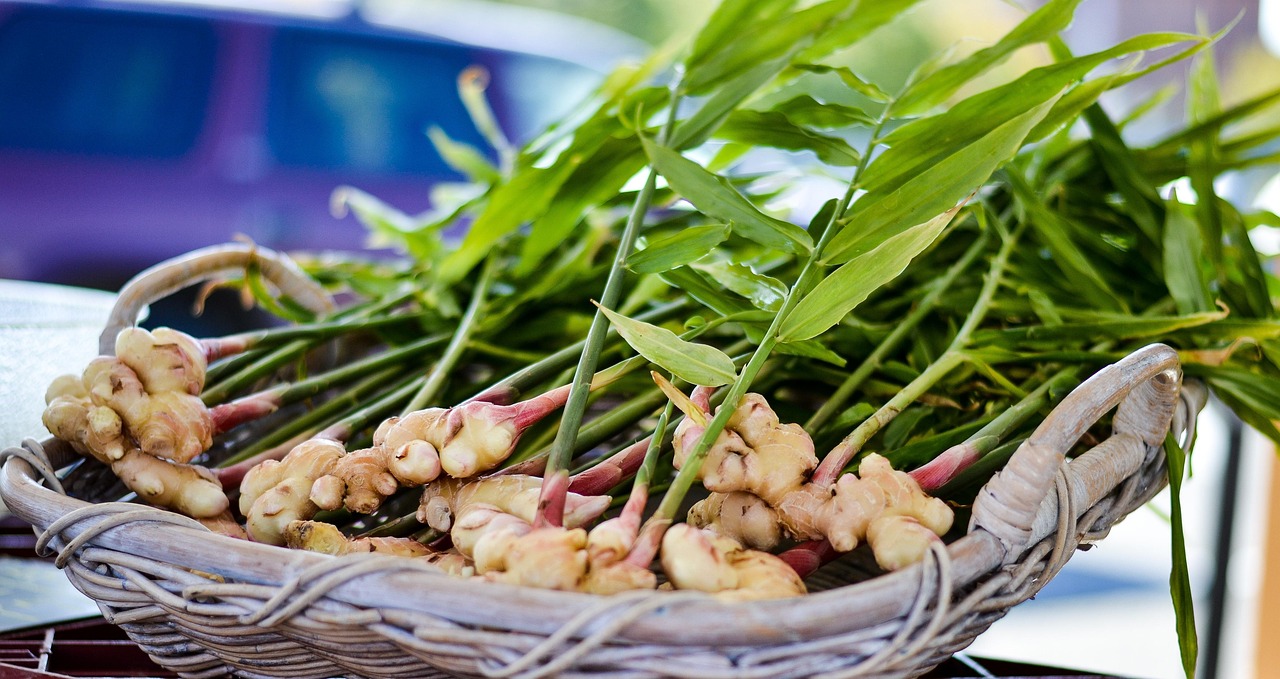
The ginger you buy at the market often spends weeks in transit and storage. By the time it reaches you, much of its aroma is gone. When you pull a ginger rhizome out of your own pot, the sharp, earthy fragrance tells you exactly why it’s worth growing at home.

Save a Few Trips (and Rupees)

Ginger isn’t always cheap. Prices spike off-season, and you still get older, less flavorful pieces. A single rhizome planted at home can multiply into a generous harvest, giving you more than enough for your tea, curries, and pickles.

No Chemicals, Just Compost

Commercial ginger is often treated with fertilizers and sprays. When you grow it yourself, you know exactly what went into the soil. A handful of kitchen compost or vermicompost is all it needs. Safer for you, better for the planet.


What You Need Before Planting

Before you press that first rhizome into the soil, set yourself up for success:

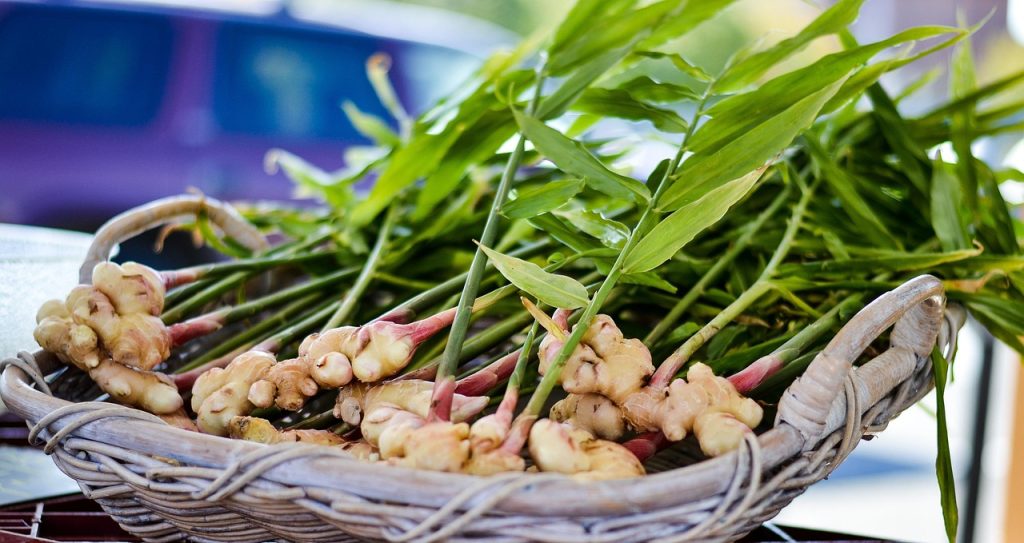
  • A healthy ginger piece — Pick a plump, organic rhizome with little “eyes” (buds). That’s where the magic starts.
  • The right pot — At least 12–14 inches deep, and wide enough for the roots to spread. Don’t skip drainage holes—ginger hates sitting in water.
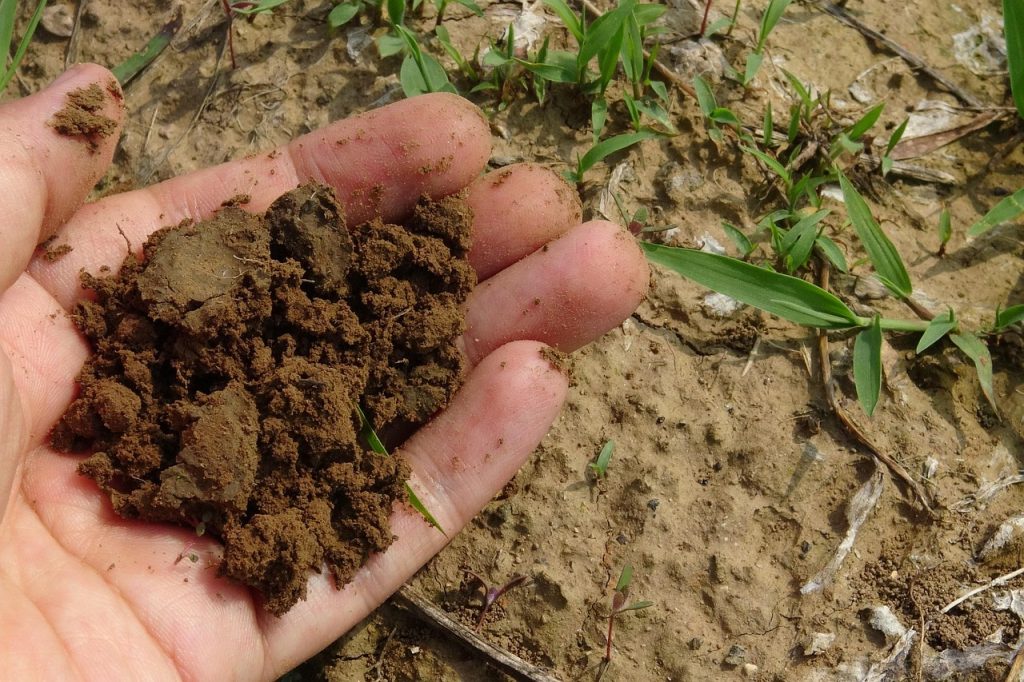
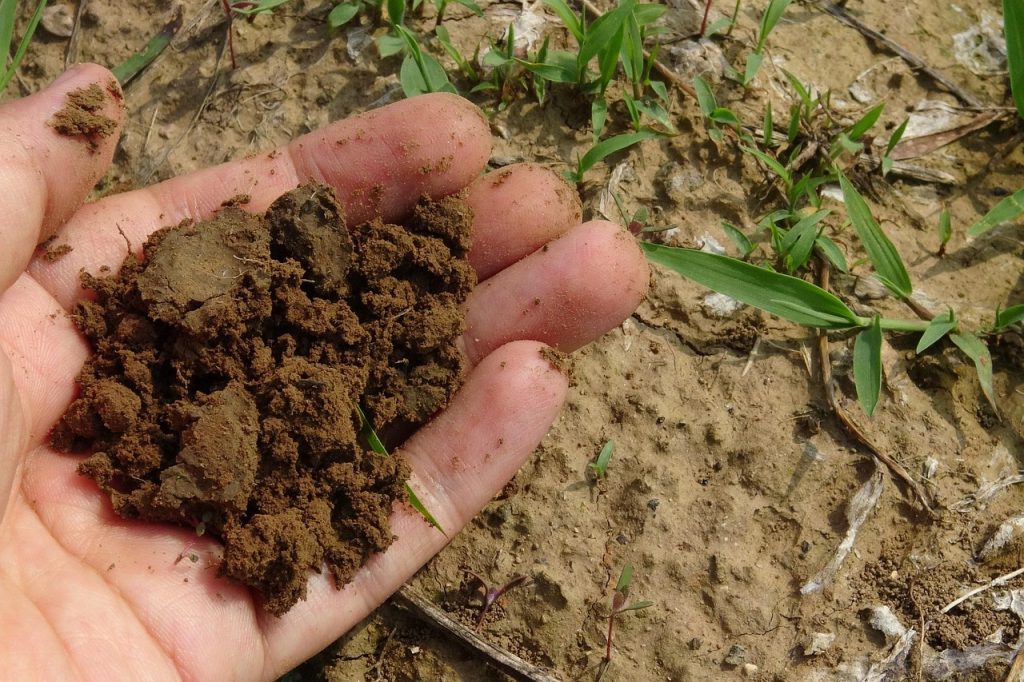
  • Good soil — Loose, crumbly, and rich in compost. Heavy clay soil will suffocate the rhizomes.
  • Basic tools — Nothing fancy. A small trowel and a watering can (or even a recycled bottle with holes in the cap) work perfectly.

Step-by-Step Guide to Growing Ginger in Pots

Step 1: Pick the Right Rhizome

Choose a ginger piece that looks alive—firm, juicy, and showing small buds. Shriveled ones rarely grow.

Step 2: Prep the Pot

Fill it with loose soil mixed with compost. Tap the sides so it settles, and make sure the water drains freely.

Step 3: Plant It Sideways

Lay the rhizome flat, with the buds pointing up. Cover lightly with 1–2 inches of soil. Don’t bury it deep; ginger likes to be close to the surface.

Step 4: Water Smartly

Keep the soil moist, not soggy. Think damp sponge, not wet towel. Place the pot in partial shade—too much sun dries it out quickly.

Step 5: Wait It Out

This is where patience comes in. Sprouts usually appear in 2–4 weeks, and full maturity takes months. Add a little compost every few weeks and let the plant do its thing.


Best Growing Conditions

  • Temperature: Ginger loves warmth—20–30°C is perfect. Below 15°C, it sulks.
  • Humidity: It’s a tropical plant, so mist the leaves if you’re growing indoors. Outdoors, keeping the soil damp is usually enough.
  • Feeding: Every month or so, give it a boost with compost or vermicompost. Skip chemical fertilizers if you want the real organic experience.

Harvesting Your Ginger

Here’s where the fun begins.

  • When it’s ready: Around 8–10 months in, the leaves will yellow and start drying out. That’s the plant’s way of saying, “I’m done.”
  • How to dig it up: Loosen the soil gently with your hands or a small fork. Don’t stab at it—fresh rhizomes bruise easily.
  • Save some for next time: Always keep a few healthy pieces with buds aside. That way, you’ll never have to buy ginger again.

Tips for Small-Space Gardeners

  • Use vertical pots or grow bags if you don’t have much floor space. They’re roomy enough for rhizomes to expand.
  • Balcony corners with indirect sunlight are perfect. Morning sun, afternoon shade.
  • Companions: Mint and turmeric grow happily alongside ginger, making your little garden greener and more productive.

Common Problems & Fixes

  • Yellow leaves? Probably too much water or poor soil. Let the top inch dry out before watering again.
  • Root rot? Always use pots with drainage holes. If rot sets in, cut out the bad parts and replant the healthy ones.
  • Pests? Skip chemicals. A neem oil spray every two weeks or a mild soap solution keeps bugs away.

Conclusion

Growing ginger at home isn’t just about saving money—it’s about the satisfaction of pulling something fresh from your own pot. It’s slow-growing, yes, but the rewards are worth it: organic flavor, healthier meals, and the quiet joy of nurturing a plant from root to harvest.

And remember, you don’t need a big backyard to get started. A single pot on your balcony is enough. Plant one rhizome today, and in a few months, you’ll wonder why you ever bothered buying ginger from the store.

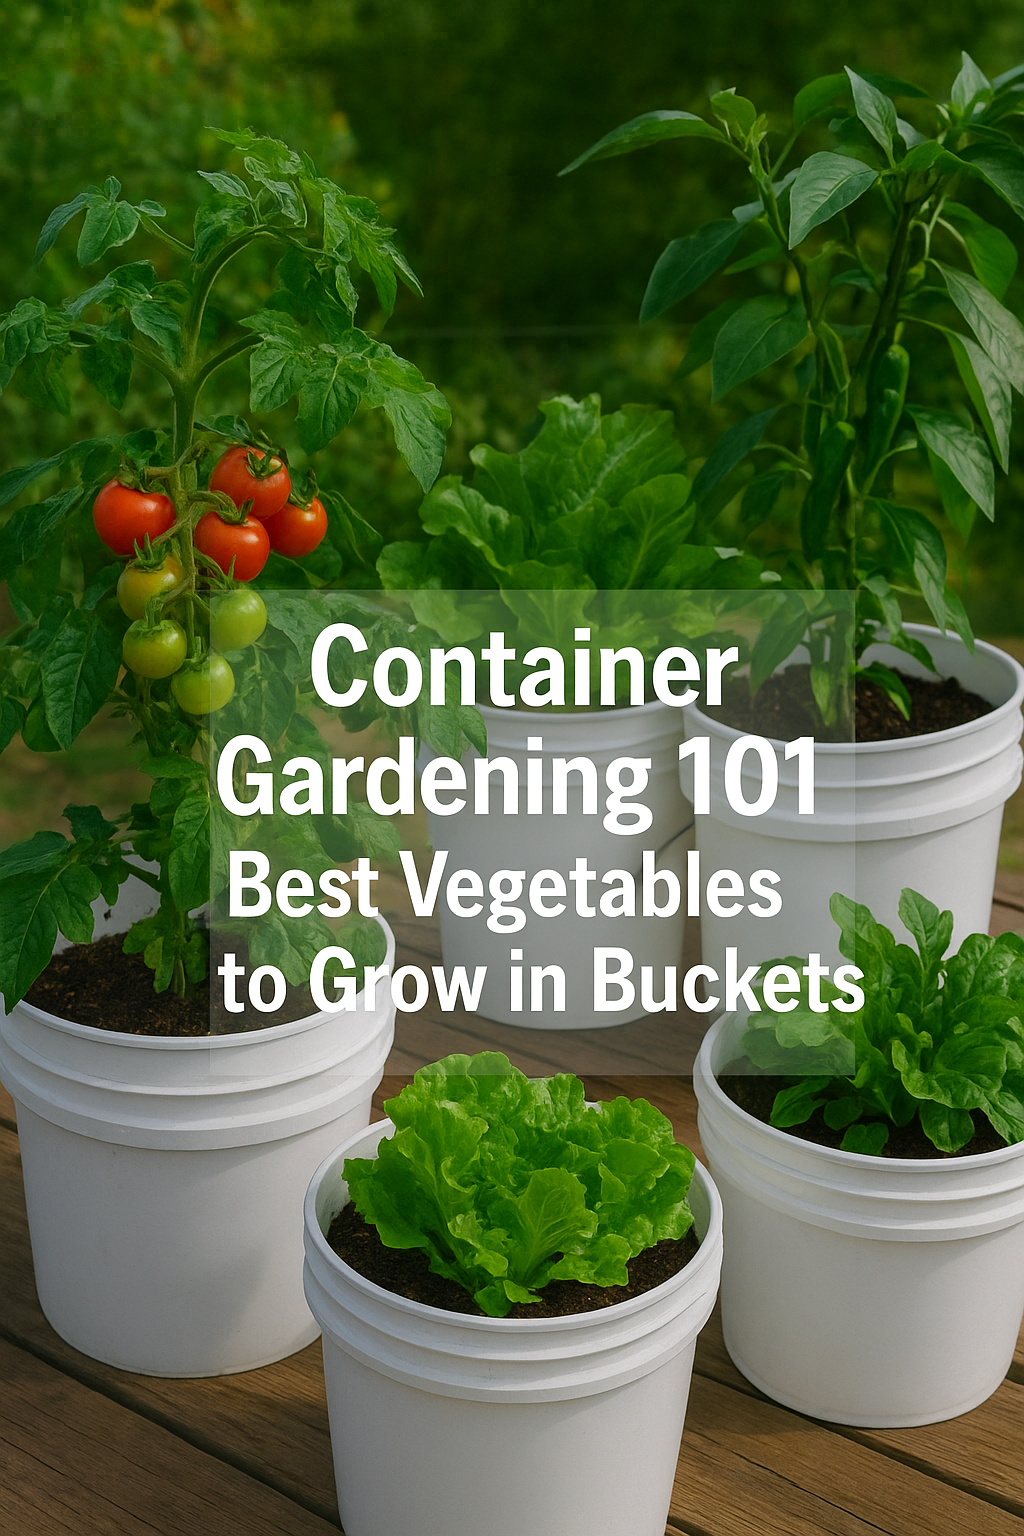
Container Gardening 101: Best Vegetables to Grow in Buckets

Container gardening isn’t just a trend—it’s becoming a practical lifestyle shift for thousands of Americans. With shrinking yard spaces, rising grocery prices, and a growing interest in homegrown food, bucket gardening offers an easy, affordable, and satisfying way to grow your own produce—even if you live in a small apartment.

If you’re just starting out, you don’t need fancy raised beds or a sprawling backyard. All you need is a 5-gallon bucket, a few basic tools, sunlight, and a bit of patience. In fact, this method has been used successfully by gardeners in cities like New York, Chicago, and Los Angeles where outdoor space is limited but creativity isn’t.

Why Buckets Are Ideal for Beginners

Before we jump into what to grow, let’s talk about why buckets work so well for home gardening:

  • Cost-Effective: Most 5-gallon buckets cost $3–$5 (or free if you reuse food-grade buckets).
  • Portable: Unlike ground beds, you can move them to chase the sun or protect from bad weather.
  • Control: You manage everything—from soil mix to watering frequency.
  • Compact: Great for balconies, patios, porches, or even sunny windows.

Pro Tip: Always drill 5–6 holes in the bottom for drainage. Without proper drainage, even the best soil can rot your plants.


Best Vegetables to Grow in Buckets (With Real Tips)

After years of trial and error, many container gardeners have narrowed down which veggies truly thrive in buckets. Here’s a refined list, with real examples from U.S. growers and proven results.


1. Leafy Greens (Spinach, Kale, Lettuce)

  • Ideal Bucket Size: 2–3 gallons
  • Why It Works: These veggies have shallow roots and don’t need deep containers.
  • Tips:
    • Use a shade cloth in summer to prevent bolting.
    • Harvest outer leaves first to keep the plant growing.
  • Success Story: Chicago-based blogger Amy Lane grows butter lettuce in repurposed paint buckets year-round.

2. Tomatoes (Cherry or Roma)

  • Bucket Size: 5 gallons minimum
  • Tips:
    • Use deep buckets with cage support or a strong stake.
    • Water daily in peak summer, but avoid soggy soil.
    • Add calcium (crushed eggshells) to avoid blossom-end rot.
  • Real Note: Balcony growers in Austin, Texas, report best results with cherry tomatoes like ‘Sweet 100’ due to smaller fruit size.

3. Peppers (Bell, Jalapeño, Cayenne)

  • Bucket Size: 3–5 gallons
  • Why It Works: Compact and sun-loving.
  • Tips:
    • Keep in full sun (6+ hours).
    • Rotate buckets weekly to ensure even ripening.
  • What to Expect: You’ll get 10–15 peppers per plant in peak season.

4. Carrots (Short Varieties)

  • Bucket Size: At least 12″ deep
  • Key Advice:
    • Choose varieties like ‘Thumbelina’, ‘Parisian’, or ‘Nantes’.
    • Use sifted, loose potting mix—no rocks or clay.
  • Common Mistake: Crowding seedlings leads to stunted, forked carrots.

5. Cucumbers (Bush Type)

  • Bucket Size: 5 gallons
  • Support Needed: Small trellis or bamboo stake.
  • Tips:
    • Feed every 2 weeks with a balanced fertilizer.
    • Water deeply every 2 days.
  • Best Varieties: ‘Bush Pickle’ and ‘Spacemaster’ are made for pots.

6. Beans (Green or Bush Beans)

  • Bucket Size: 5 gallons
  • Care Notes:
    • Start from seed, not transplant.
    • Provide simple support sticks.
  • Growth Tip: Plant 6–8 seeds per bucket for a good yield.

7. Swiss Chard or Collard Greens

  • Perfect for Beginners.
  • They tolerate heat, cold, and even a bit of neglect.
  • Harvest outer stalks continuously for fresh cooking greens.

Where to Place Your Buckets

Your placement decisions can make or break your harvest.

  • Full Sun Vegetables (like tomatoes, peppers, beans): Place in south or west-facing balconies or rooftops.
  • Partial Shade Veggies (lettuce, spinach): Place on east-facing windows or patios.
  • Move as Needed: Portable means you can chase the sun in changing seasons.

Don’t have outdoor space? You can grow leafy greens indoors near a south-facing window or under LED grow lights for 4–6 hours a day.


Soil & Fertilizer Secrets

Use a lightweight potting mix—never garden soil alone. Add:

  • Compost (30%) for nutrients
  • Perlite or coco coir for aeration
  • Worm castings or slow-release organic fertilizer

Feed your plants every 2–3 weeks with a liquid seaweed or compost tea. Tomatoes and cucumbers are heavy feeders—don’t skip feeding.


Watering Done Right

  • Buckets dry fast, especially in summer.
  • Water daily or even twice on very hot days.
  • Stick your finger 2″ deep—if dry, it’s time to water.

Avoid overwatering—use drainage trays but don’t let water sit.


Final Thoughts

Bucket gardening isn’t a gimmick. It’s a tested, reliable way to eat fresh food straight from your balcony or patio—without the need for land or massive investment.

Whether you’re growing cherry tomatoes in a New York apartment or hot peppers in a Texas trailer home, the principles remain the same: right plant, right pot, right care.


Leave a Comment:

Have you tried growing veggies in buckets? Share your favorite plant (or mistake) below—let’s grow together!


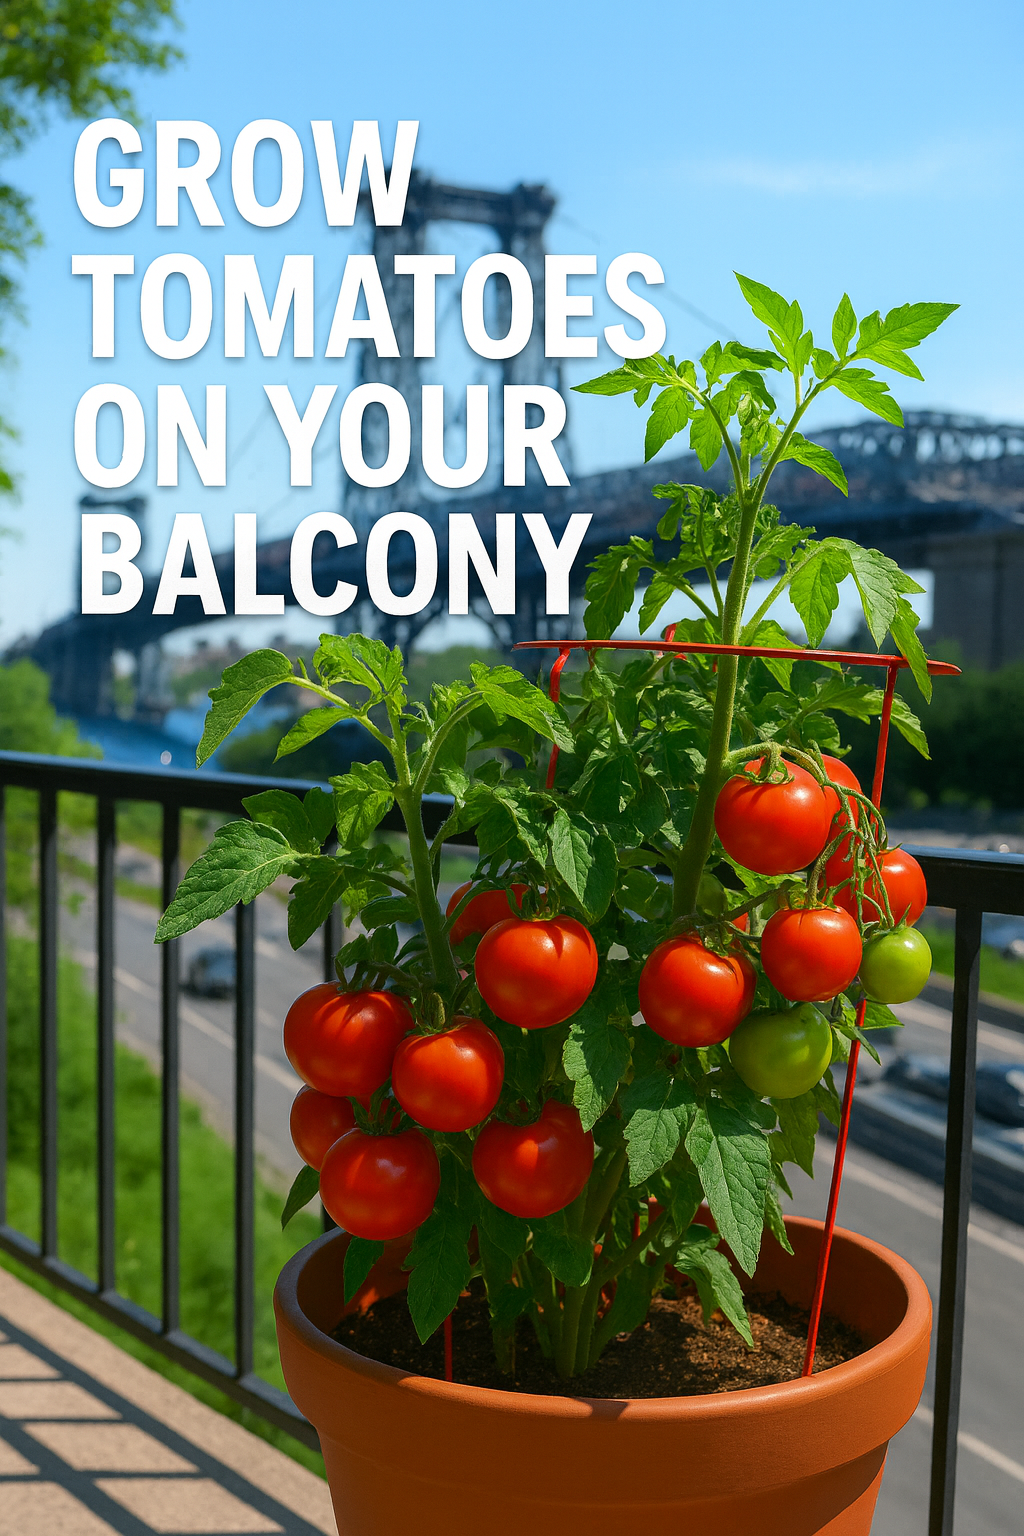
Grow Juicy Tomatoes on Your Balcony: A Beginner’s Guide for the Urban Gardener

Picture this: morning sunshine glistens on dewy tomato vines, tiny fruits ripening right beside your coffee mug—on your own balcony! Whether you live in New York, San Francisco, or anywhere in between, you can grow plump, red tomatoes even with limited space.

Here’s your complete, beginner-friendly, step-by-step guide to growing tomatoes in a pot on your U.S. balcony.

1. Pick the Right Tomato Variety

Choose compact, container-friendly types like:

  • Cherry Tomatoes – e.g., ‘Tiny Tim’, ‘Sweet 100’
  • Patio Tomatoes – bred for small containers
  • Bush Tomatoes – like ‘Bush Early Girl’ or ‘Balcony’

Tip: Avoid vine-type (indeterminate) tomatoes unless you have a large trellis.


2. Choose a Pot That Breathes

Use a 5-gallon container at minimum. Ensure:

  • Good drainage holes
  • Breathable material like terracotta or cloth grow bags
  • A saucer underneath to catch extra water

3. Sunlight = Tomato Power

Tomatoes love 6–8 hours of direct sunlight. South or southwest-facing balconies are perfect.

If sunlight is partial, consider reflective materials (like a white wall or aluminum foil board) to bounce light back to the plant.


4. Soil & Fertilizer Tips

Use high-quality organic potting mix—not regular garden soil.

  • Mix in compost or slow-release tomato fertilizer
  • Feed with liquid fertilizer every 2 weeks after the plant flowers

5. Watering Routine

Tomatoes are thirsty but hate wet feet.

  • Water daily in hot months
  • Keep soil moist but not soggy
  • Mulch the topsoil with dried leaves or straw to lock moisture

6. Support Your Plant

Add a tomato cage or stake early—even for bush types. It prevents branches from snapping when fruit develops.


7. Watch for Pests & Yellowing

Check leaves weekly for:

  • Aphids
  • Spider mites
  • Whiteflies

Use neem oil spray or insecticidal soap if needed.


8. Harvesting Time!

Once the tomatoes turn bright red (or orange/yellow for specialty varieties), twist gently and harvest.

Store at room temperature—never refrigerate fresh tomatoes.


Final Balcony Gardening Tips

  • Rotate pots every few days if sunlight is uneven
  • Talk to your plants (yes, seriously—it boosts plant care awareness)
  • Pair with basil or marigolds to repel pests and increase yield

FAQ: Tomato Growing for Balcony Gardeners

Q: Can I grow tomatoes in partial shade?
A: They’ll survive, but yields will be low. Supplement with reflective surfaces or grow lights if needed.

Q: Can I reuse soil next year?
A: It’s best to refresh with new potting mix and compost each season to prevent disease buildup.

Q: Why are my tomatoes splitting?
A: Inconsistent watering is the culprit. Keep soil evenly moist.


Learn how to grow juicy tomatoes on your U.S. balcony with this beginner-friendly, step-by-step guide. Includes tips on pot size, sunlight, watering, and more.

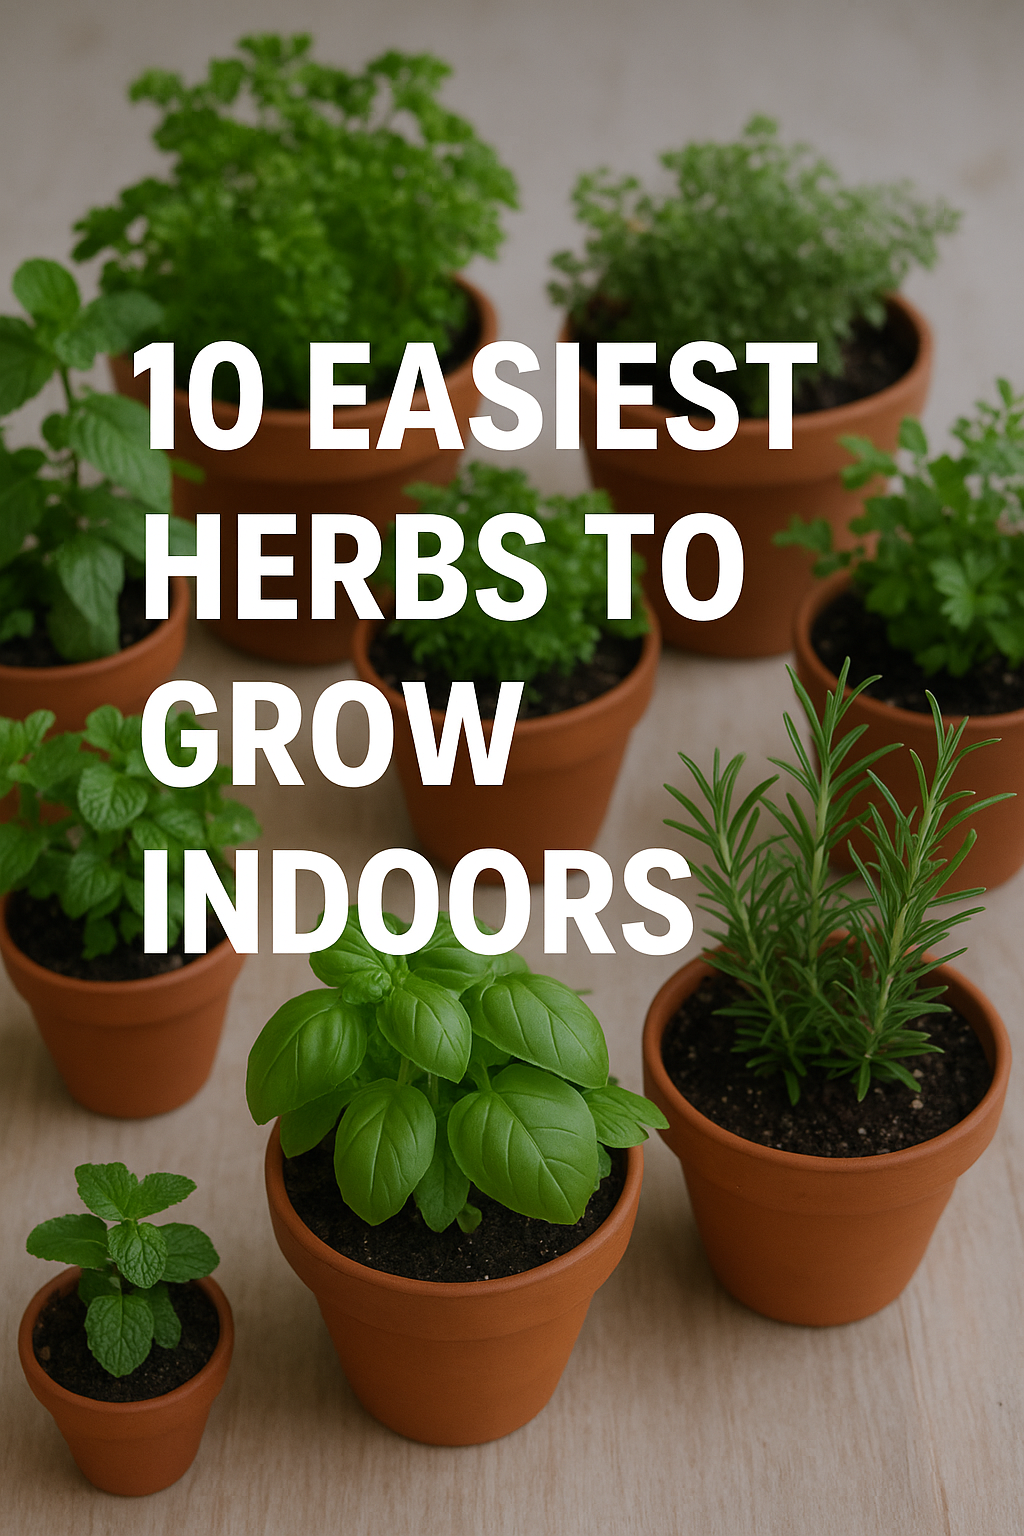
10 Easiest Herbs to Grow Indoors (Even in a Small Apartment)

Living in a small apartment doesn’t mean you have to give up fresh, home-grown herbs. With just a few pots, good soil, and a sunny windowsill (or even grow lights), you can enjoy flavor-packed herbs year-round. Here are ten of the easiest herbs to grow indoors—perfect for beginners or anyone short on space.

1. Basil

Why It’s Great: Fast-growing, fragrant, and perfect for pasta or salads.
Where to Grow: Bright, south-facing window or under a grow light.
How to Grow:

  • Pot: 6–8 inches deep, with drainage.
  • Watering: Keep moist but not soggy.
  • Tip: Pinch off the flower buds to keep leaves growing.

2. Mint

Why It’s Great: Great for teas, mojitos, and digestion.
Where to Grow: Partial sunlight (east-facing window).
How to Grow:

  • Pot: Always in a separate container (mint spreads fast).
  • Watering: Water when topsoil feels dry.
  • Tip: Cut stems regularly to prevent legginess.

3. Parsley

Why It’s Great: Versatile garnish + vitamin-rich.
Where to Grow: Cool spots with indirect sunlight.
How to Grow:

  • Pot: 8-inch deep, clay or ceramic pot.
  • Watering: Keep moist; don’t let soil dry out.
  • Tip: Trim from the outside stalks, never the center.

4. Chives

Why It’s Great: Onion-like flavor, low maintenance.
Where to Grow: Windowsills with morning sun.
How to Grow:

  • Pot: 6-inch deep, wide mouth.
  • Watering: Every few days, but avoid soggy soil.
  • Tip: Harvest by cutting 2 inches from base.

5. Cilantro (Coriander)

Why It’s Great: Essential in Mexican, Indian, and Thai cooking.
Where to Grow: Coolest room in the house with 4–5 hours sun.
How to Grow:

  • Pot: Deep (10 inches), well-drained.
  • Watering: Keep consistently moist.
  • Tip: Sow seeds every 2–3 weeks for constant harvest.

6. Oregano

Why It’s Great: Strong flavor, perfect for sauces and pizza.
Where to Grow: Full sun (window or grow light).
How to Grow:

  • Pot: Small terracotta pot for better drainage.
  • Watering: Allow top 1 inch to dry before watering.
  • Tip: Harvest before flowers appear.

7. Thyme

Why It’s Great: Hardy and drought-tolerant.
Where to Grow: South-facing windows with strong light.
How to Grow:

  • Pot: 6–8 inch with drainage holes.
  • Watering: Water sparingly; avoid overwatering.
  • Tip: Clip back after flowering to encourage growth.

8. Rosemary

Why It’s Great: Aromatic, evergreen, great for roasting.
Where to Grow: Brightest spot in your house.
How to Grow:

  • Pot: Large clay pot (good air circulation).
  • Watering: Water deeply but less frequently.
  • Tip: Mist the leaves to prevent drying out indoors.

9. Dill

Why It’s Great: Great in pickles, dips, and fish dishes.
Where to Grow: Cooler room with 5+ hrs sunlight.
How to Grow:

  • Pot: 10–12 inches deep; it grows tall.
  • Watering: Keep soil evenly moist.
  • Tip: Succession plant every 3–4 weeks.

10. Sage

Why It’s Great: Powerful flavor, beautiful silvery leaves.
Where to Grow: Sunny windows with at least 6 hours light.
How to Grow:

  • Pot: Medium size with good drainage.
  • Watering: Let soil dry between waterings.
  • Tip: Don’t harvest more than ⅓ of the plant at once.

Smart Gardening Tips for Indoor Herb Success

Use LED grow lights if sunlight is limited
Rotate pots weekly to avoid lopsided growth
Avoid overwatering – biggest killer of herbs
Use a spray bottle for humidity if air is dry
Label herbs to avoid confusion when seedlings look similar


Bonus: DIY Mini Indoor Herb Shelf

Repurpose a ladder shelf or hang small pots on your kitchen wall. Herbs love vertical spaces, and it adds greenery to your home aesthetic!


What’s Your Favorite Herb to Grow Indoors?

Drop your go-to indoor herb in the comments! Or tag us on Pinterest or Instagram with your kitchen garden.

Imagine stepping onto your balcony every morning to find bright red chilies glistening under the sun, ready to spice up your next meal. Whether you live in an apartment or just want a compact garden, growing chili peppers in pots is easy, fun, and flavorful!

Why Grow Chili Peppers in Pots?

  • Space-Saving: Perfect for balconies, patios, or windowsills.
  • Better Control: Easier to manage soil quality, sunlight, and watering.
  • Pest Management: Reduced risk of garden pests like slugs and aphids.

What You’ll Need

ItemDetails
Pot SizeAt least 10-12 inches deep with drainage holes
SoilWell-draining potting mix enriched with compost
Seeds or SeedlingsCayenne, Thai chili, jalapeño, or habanero
Sunlight6–8 hours of direct sunlight daily
WaterKeep soil moist but not soggy
FertilizerUse a balanced liquid fertilizer every 2 weeks

Step-by-Step Planting Guide

1. Pick the Right Pot & Spot

Choose a terracotta or plastic pot and place it in a sunny balcony corner. Chili plants love heat and light.

2. Start with Quality Soil

Use a light potting mix that retains moisture but drains well. Mix in organic compost or vermicompost.

3. Sow the Seeds

Plant seeds about 1/4 inch deep, spaced at least 2 inches apart. Water lightly.

4. Water Consistently

Chilies hate dry spells. Keep the soil consistently moist, especially in summer. Use a spray bottle for young seedlings.

5. Feed & Prune

Once flowers appear, feed with potassium-rich fertilizer. Remove yellow leaves and side shoots for better airflow and fruiting.

6. Harvest Time!

In 60–90 days, your chilies will be ready. Use scissors to snip them off to avoid damaging the plant.


Pro Tips

  • Use Epsom salt spray monthly to boost growth (1 tbsp per gallon of water).
  • Move pots indoors if temps drop below 50°F (10°C).
  • Avoid overwatering. Root rot is a chili killer!

Fun Fact

Chili peppers can self-pollinate, but giving the plant a gentle shake or using a soft brush on flowers helps increase yield!


FAQ – Chili Growing Simplified

Q: Can I grow chili peppers indoors?
A: Yes, but make sure they get enough sunlight or use a grow light.

Q: How long do chili plants live?
A: Many varieties are perennial in warm climates and can live for 2–3 years.

Q: Why are my chili plants not fruiting?
A: Lack of sunlight or over-fertilizing with nitrogen can reduce flower-to-fruit conversion.

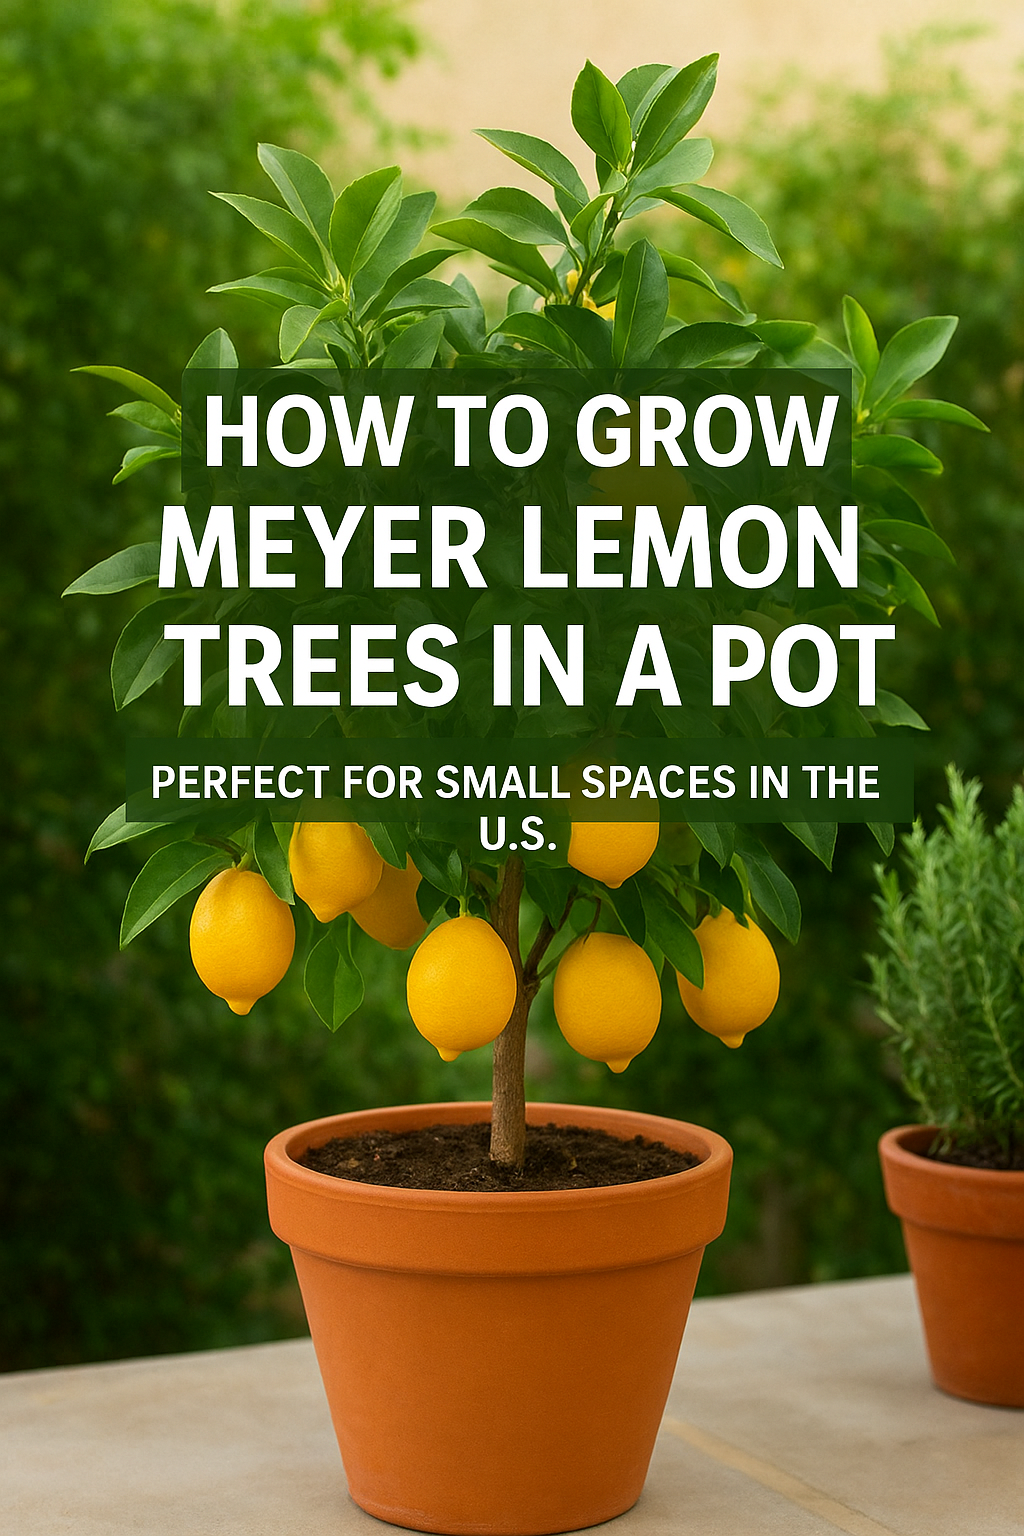
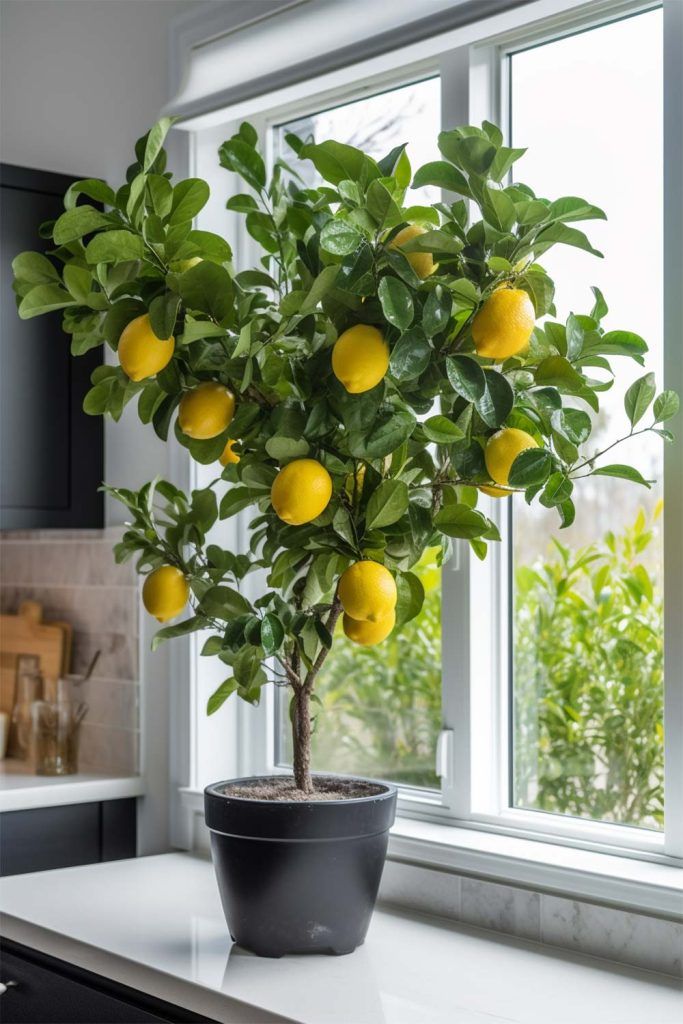
Imagine stepping onto your balcony each morning and plucking a fresh lemon from your very own tree. Sounds dreamy? It’s totally doable—even if you live in an apartment!

Whether you’re a seasoned gardener or just dipping your toes into container gardening, Meyer lemons are one of the easiest (and most rewarding) fruits to grow in pots. With their sweet, floral flavor and gorgeous golden peel, they’re a must-have for every small-space garden.

Why Meyer Lemons?

Meyer lemons are a cross between a lemon and a mandarin orange. They’re:

  • Sweeter and less acidic than regular lemons
  • Highly fragrant with beautiful, glossy leaves
  • Compact and well-suited for container life
  • Hardy in USDA Zones 8–11, but grow well indoors in colder regions too

Step-by-Step Guide to Grow in Pots

1. Pick the Right Container

  • Use a 5 to 15-gallon pot with drainage holes.
  • Go for ceramic, plastic, or fabric pots — avoid unglazed clay unless you’re in a humid area.
  • Add a rolling plant caddy if you’ll need to move it indoors during winter.

2. Use the Right Soil

  • Choose a slightly acidic, well-draining mix.
  • Add perlite or sand for extra drainage.
  • Avoid heavy garden soil — it compacts and drowns roots in containers.

3. Sunlight Is Non-Negotiable

  • Meyer lemons need 6–8 hours of full sun daily.
  • South-facing balconies, patios, or windows are ideal.
  • Indoors? Use grow lights to supplement low-light spaces.

4. Watering: Don’t Overdo It

  • Water when the top 2 inches of soil are dry.
  • Ensure no standing water in trays—root rot is real.
  • In summer: every 2–3 days.
  • In winter: every 1–2 weeks.

5. Feed with Citrus Fertilizer

  • Use a slow-release citrus-specific fertilizer every 4–6 weeks.
  • Or use a liquid fertilizer bi-weekly during growing season.
  • Don’t overfertilize—watch for yellow leaves (a sign of nutrient imbalance).

6. Prune Like a Pro

  • Prune in early spring to shape the tree and remove dead branches.
  • Thin out crowded branches to allow sunlight inside the canopy.

Pro Tip: Bring It Indoors for Winter

If you’re in USDA Zone below 8, your tree won’t survive frost outdoors.

  • Bring it inside before first frost.
  • Place near a sunny window or under LED grow lights.
  • Mist leaves to combat dry indoor air.

Where to Buy Meyer Lemon Trees Online

  • FastGrowingTrees.com
  • Stark Bro’s Nurseries
  • The Home Depot Garden Center
  • Logee’s Tropical Plants

“I planted mine in a pot on my Brooklyn fire escape—and harvested 15 lemons in the first year!”@UrbanSproutNYC


FAQ – Common Questions

Q: Can I grow Meyer lemons indoors year-round?
A: Yes! Just use grow lights and keep humidity up.

Q: When will it fruit?
A: Typically within 1–2 years of planting, sometimes sooner if it’s a grafted tree.

Q: Is it self-pollinating?
A: Yes, but shaking the branches or using a small brush helps boost indoor pollination.

Q: Do I need to repot it often?
A: Every 2–3 years or when roots start to circle inside the pot.