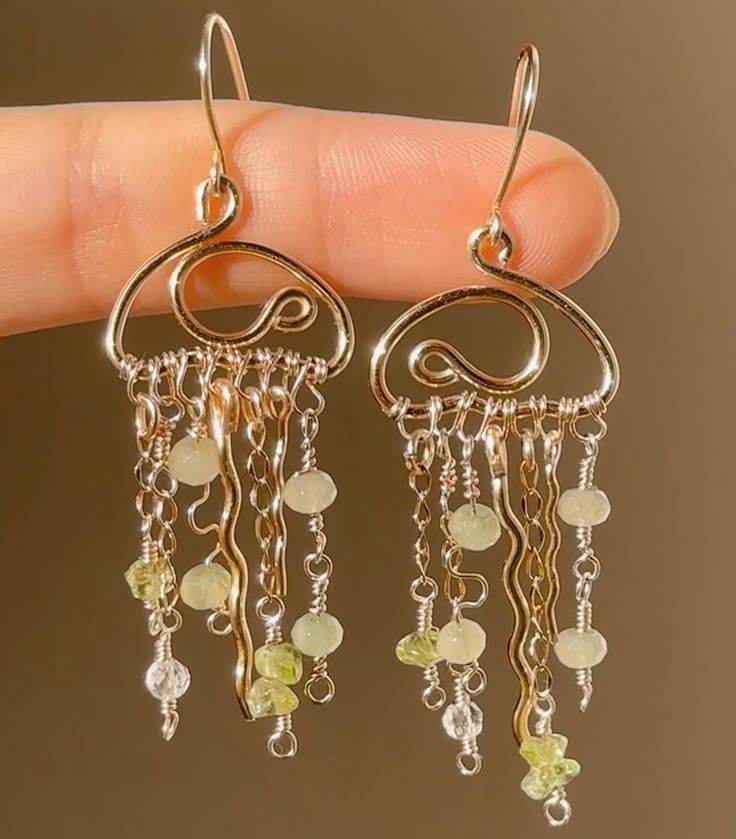
I’ll be honest: I’ve always had a soft spot for jewelry. It’s the one thing that can take a plain outfit and make it feel like you. But here’s the thing—I never wanted to spend $50 on a pair of earrings I could probably make myself. That’s how I got hooked on DIY jewelry.
Over the years, I’ve learned that making your own pieces isn’t just budget-friendly—it’s ridiculously fun and surprisingly calming. There’s something about sitting down with beads, wire, or even scrap fabric and watching a unique little accessory come to life in your hands.
If you’ve ever thought, “I wish I could make my own jewelry”, trust me, you can. And I’m going to show you how.
Why I Think DIY Jewelry is Worth It
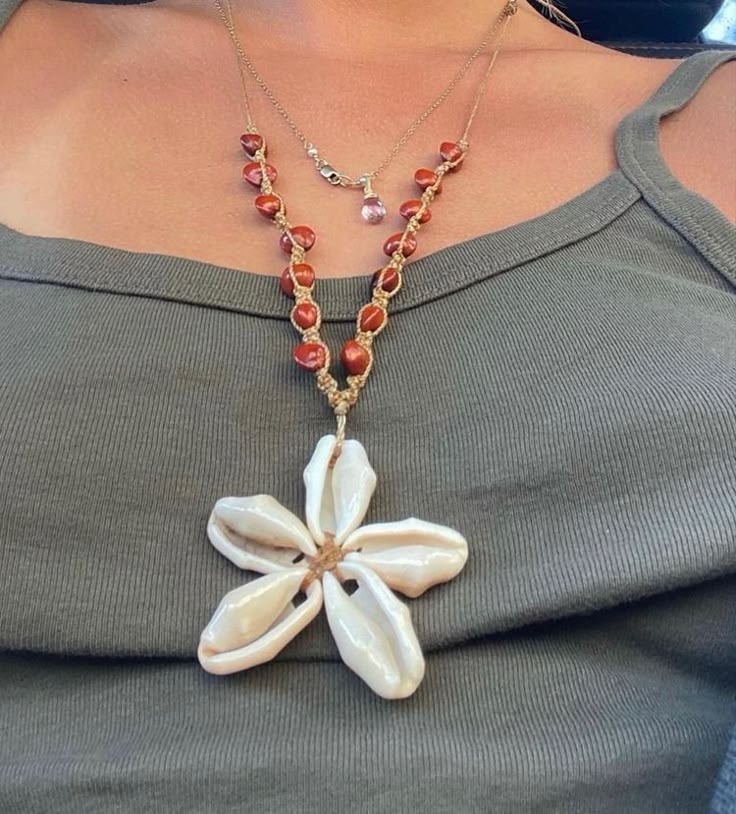
Let me tell you, once you start making your own pieces, shopping at the mall feels different. Instead of buying, you’ll catch yourself thinking, “I could totally make that for half the price.”
Here’s why I swear by it:
- It’s personal. You’re not wearing something hundreds of other people own—you’re wearing your idea.
- It’s affordable. I once made six pairs of earrings for under $10. Yes, really.
- It’s a stress-buster. Crafting is basically therapy with beads.
- It makes the sweetest gifts. A handmade bracelet says “I thought of you” in a way store-bought never can.
My Go-To Tools and Materials (Beginner-Friendly)
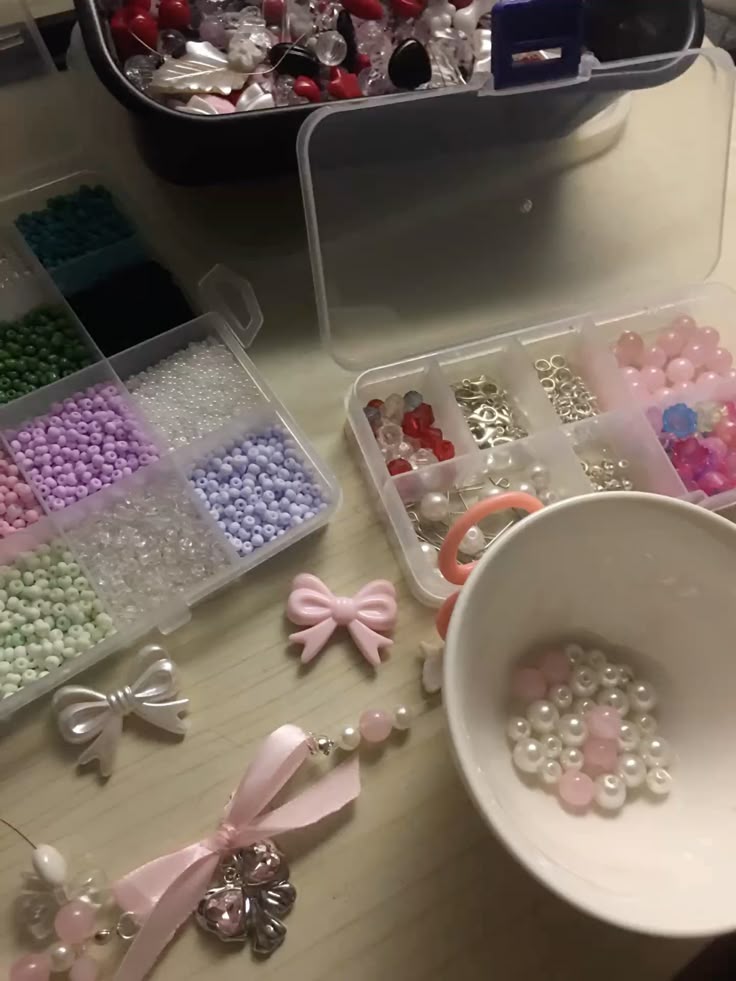
You don’t need a fancy setup to get started. Honestly, my first bracelet was made on my couch with a pair of dollar-store pliers. Here’s what I recommend:
- Elastic cord (for easy bracelets—game changer for beginners)
- Beads: I’m a sucker for seed beads and gemstone chips, but even wooden beads look chic
- Wire & jump rings (the backbone of most projects)
- Earring hooks & clasps (you can grab a pack online for a few bucks)
- Basic tools: round-nose pliers, flat pliers, scissors
Hack: Don’t overbuy. A starter kit from Amazon or Michaels is plenty to test the waters.
My Favorite DIY Jewelry Projects
1. The “Netflix Bracelet” (So Easy You Can Make It While Watching a Show)
This is literally how I started. Grab elastic cord, string some beads, knot it tight, and boom—you’ve got a bracelet. I call it the “Netflix Bracelet” because you don’t even need to look up while doing it.
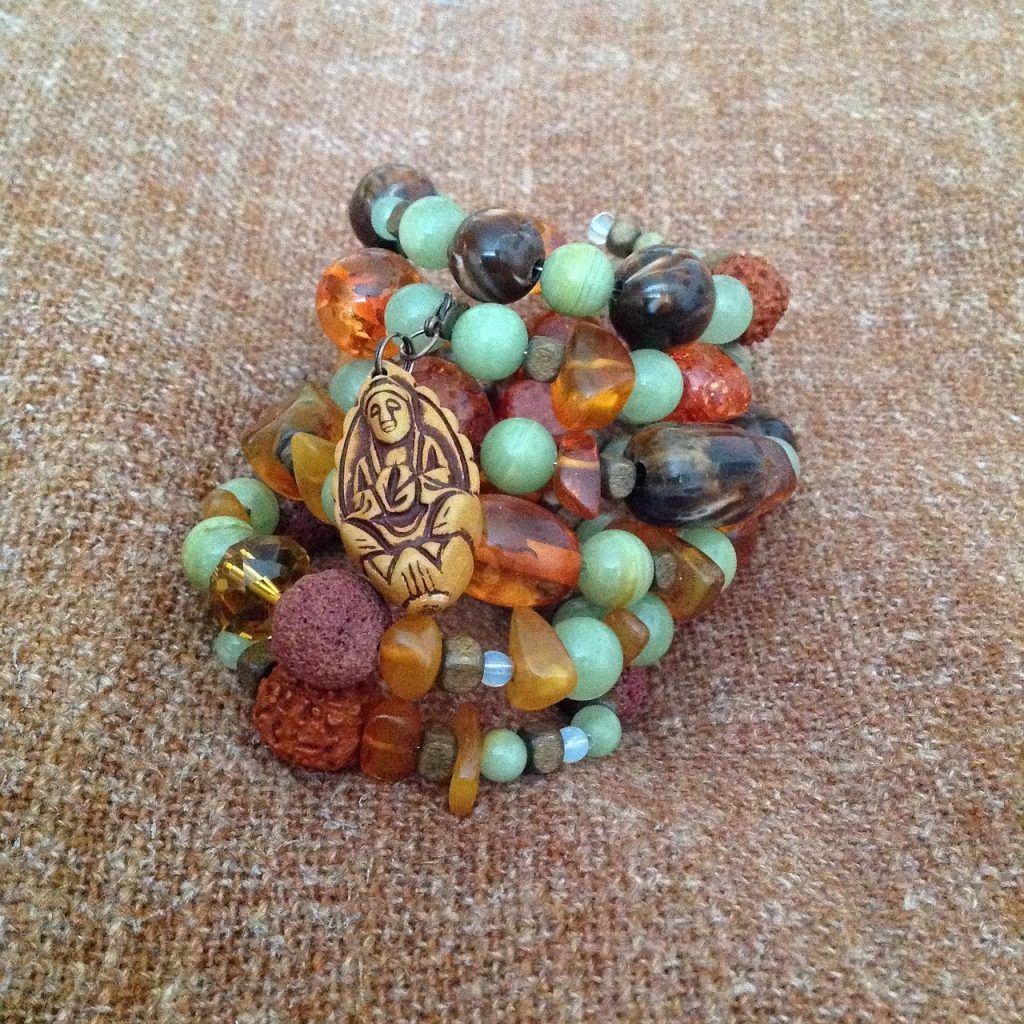
2. Wire-Wrapped Pendants (They Look Fancy but Aren’t)
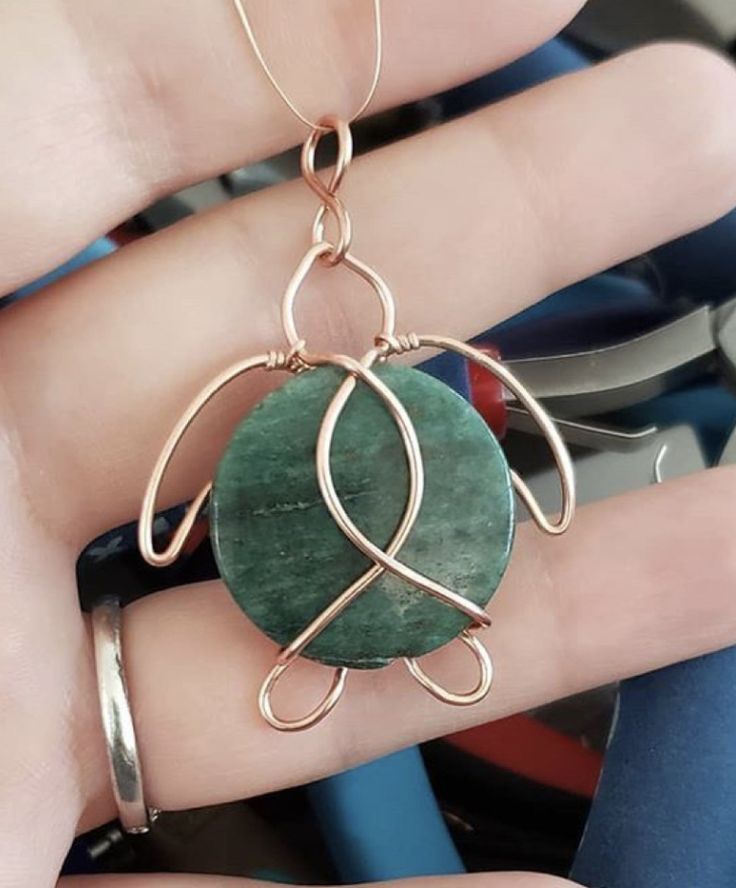
I once turned a random seashell I found at the beach into a pendant—and it’s still one of my favorite necklaces. All you need is thin wire and a stone, crystal, or shell. Wrap it a few times, make a loop at the top, and slide it onto a chain. People will assume you bought it at a boutique.
3. Tassel Earrings (For the Color Lovers)
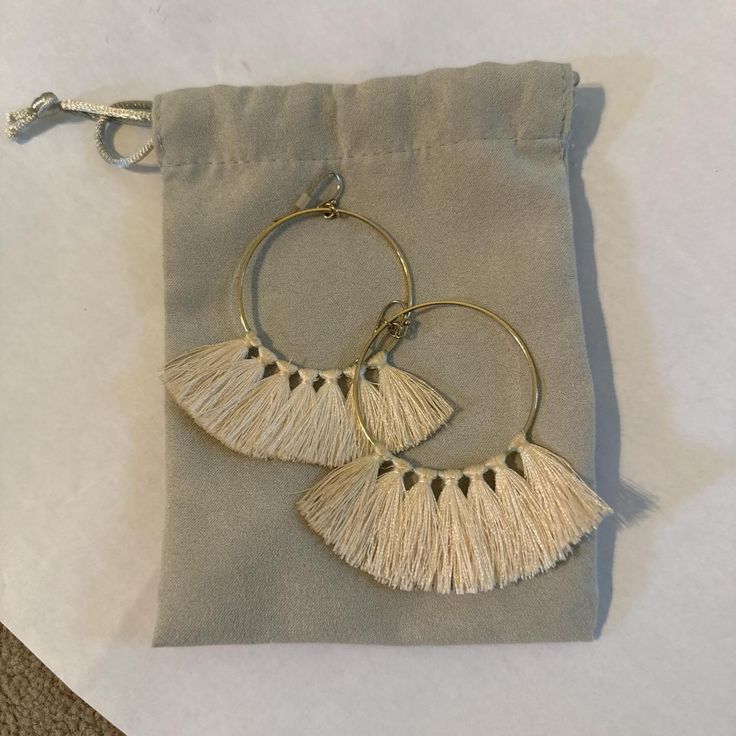
These are my go-to when I want to look like I “tried” without actually trying. Wrap embroidery thread around cardboard, tie, trim, attach to earring hooks. Done. They’re lightweight, bold, and always get compliments.
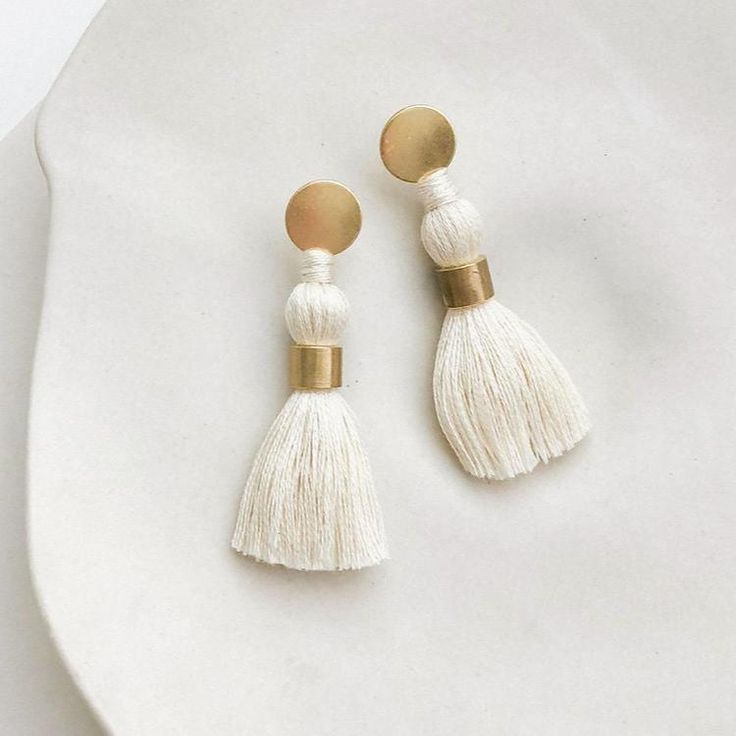
Hack: Use leftover thread or even fabric strips—instant boho vibes.
4. Button & Fabric Scrap Rings (The Upcycling Gem)
I keep a jar of old buttons and fabric scraps just for this. Hot glue a pretty button or fabric rosette onto a simple ring base (they’re cheap online), and you’ve got a quirky, eco-friendly statement ring.
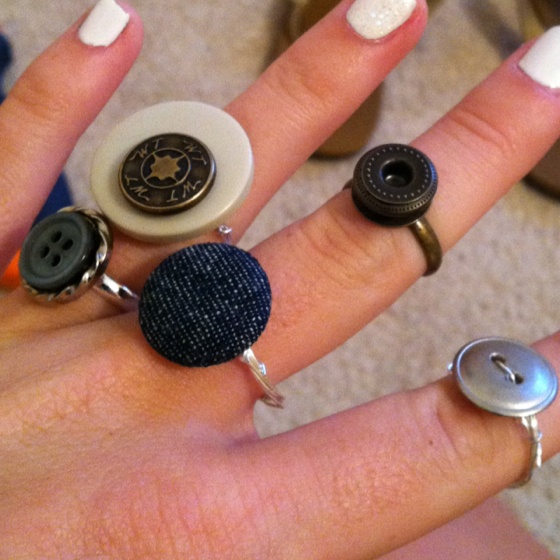
Hack: Denim scraps make surprisingly cool rings.
5. Layered Chain Anklets (Beach Vibes Anytime)
Summer favorite! Grab two or three thin chains in different lengths, add small charms if you want, and attach clasps. Worn with sandals, they instantly give that laid-back, coastal look.
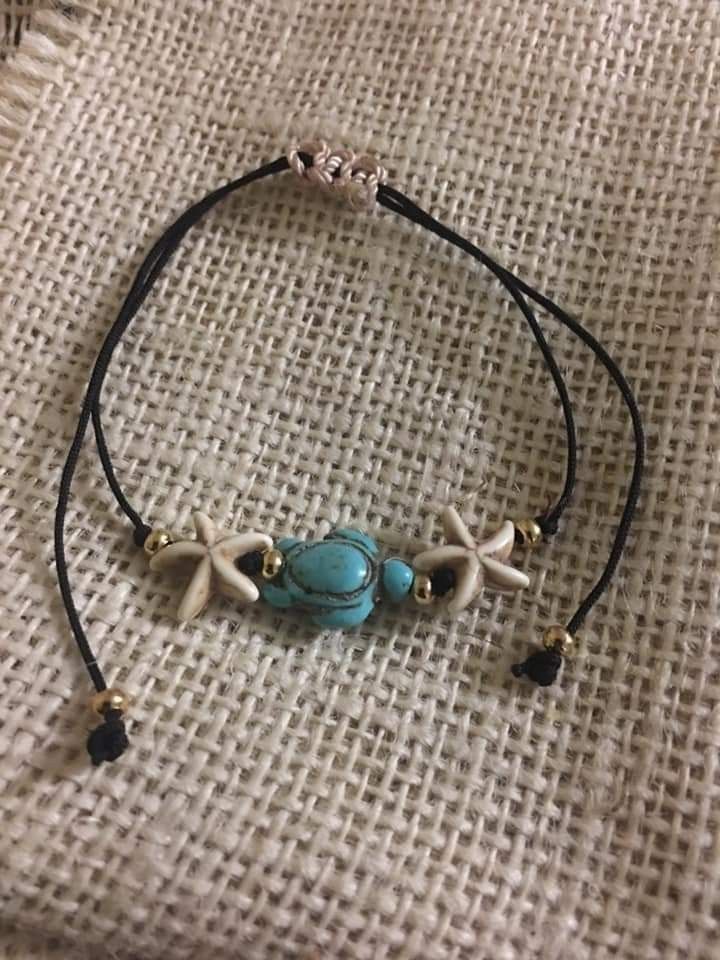
Hack: Use a safety pin to help thread tiny charms saves a lot of frustration.
How to Make Your Jewelry Look “Expensive” (Even When It’s Not)
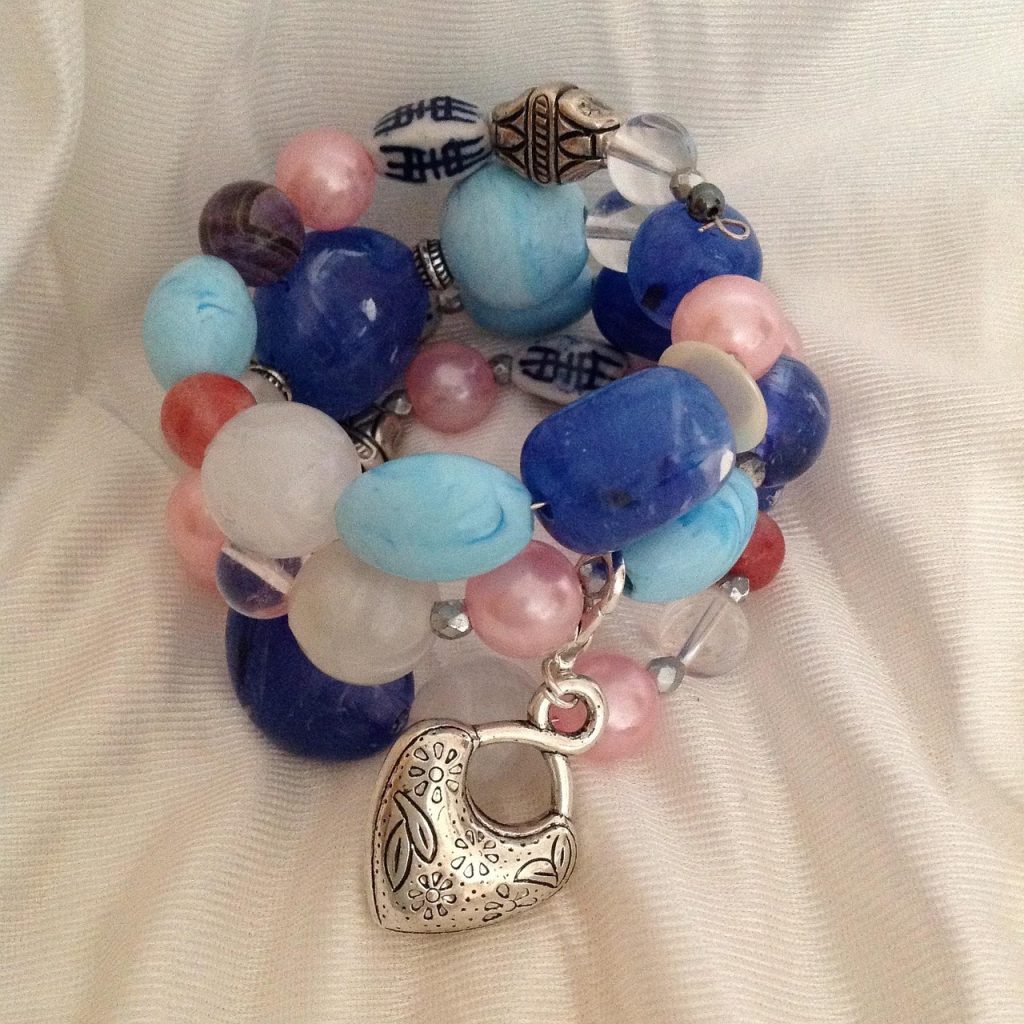
Here are tricks I’ve picked up after a dozen trial and error pieces:
- Stick to two or three colors-less chaos, more class.
- Swap plastic beads for glass or gemstone chips when you can.
- Invest in gold or silver-plated findings (they cost a little more, but don’t tarnish as fast).
- Mix textures : wood + metal, leather + beads, thread + shells.
Caring for Your Handmade Pieces
Here’s the truth: homemade jewelry can last years if you treat it right.
- Keep it away from water (especially elastic bracelets).
- Store earrings in little Ziploc bags or soft pouches.
- Wipe with a dry cloth after wearing.
I learned the hard way that leaving beaded pieces in a steamy bathroom is a death sentence. Don’t do it.
Ready to Start Crafting?
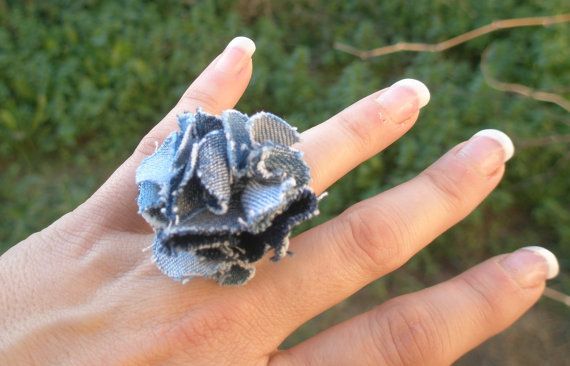
DIY jewelry isn’t about perfection, it’s about expression. Some of my “mistakes” ended up being my favorite designs (like that uneven denim ring I now wear proudly). If you love the idea of accessories that feel personal, affordable, and fun to make, I promise this hobby will hook you.
So go ahead—grab some beads, put on a playlist, and see what happens. Worst case? You’ve spent an hour creating. Best case? You just made your new favorite necklace.

