There’s something about marble and ombre nails that just look expensive. The good news? You don’t need a salon visit or a pro nail artist to get them. With the right tools, patience, and a steady hand, you can recreate these trending nail designs at home. This guide is your no-nonsense breakdown on how to do DIY marble nails and DIY ombre nails step by step.
What You Need Before You Start
- Base coat and top coat
- 2–3 nail polish colors (for ombre, choose shades that blend well; for marble, a solid base plus a contrasting shade)
- Makeup sponge (for ombre)
- Thin nail brush or toothpick (for marble)
- Small piece of plastic wrap (optional, for marble effect)
- Nail polish remover and cotton pads for cleanup
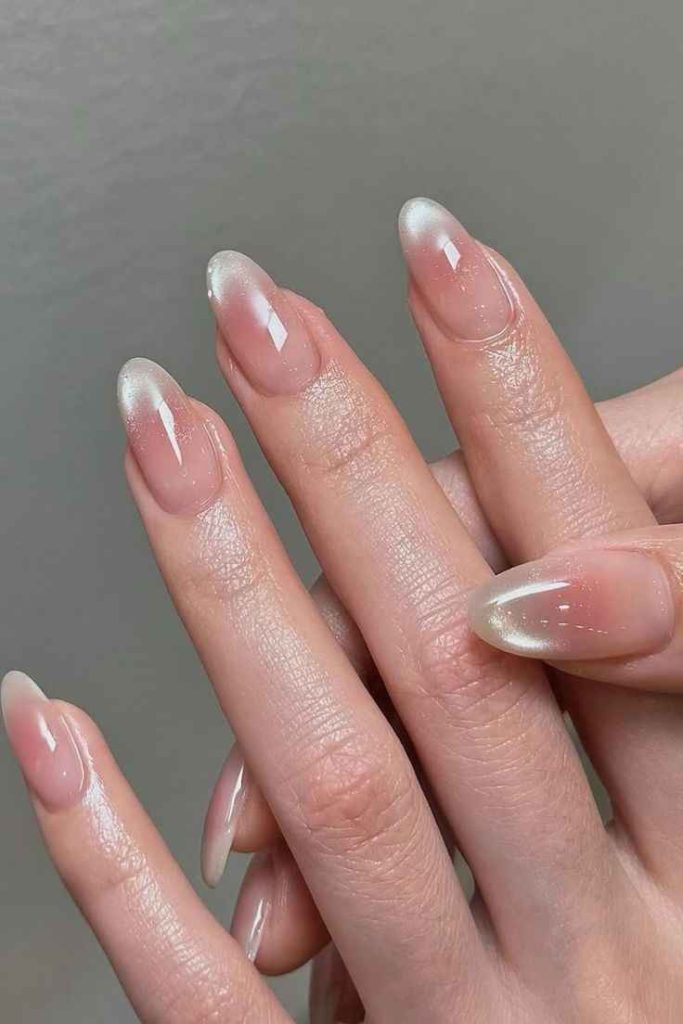
How to Do DIY Ombre Nails at Home
1. Prep Your Nails
File, buff, and apply a thin base coat. Let it dry completely.
2. Apply Base Shade
Paint nails with your lightest color. This helps with smoother blending.
3. Create the Gradient
Paint two polish colors side by side on a sponge. Dab gently onto nails, moving slightly up and down to blend.
4. Repeat for Depth
Add 2–3 layers until the ombre effect looks seamless. Clean cuticles afterward.
5. Seal It
Finish with a glossy top coat to blend and lock in color.
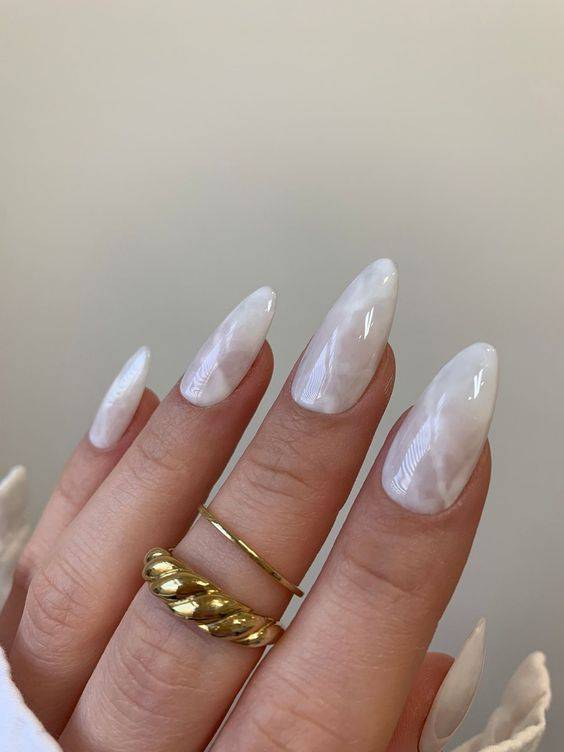
How to Do DIY Marble Nails at Home
1. Base Color First
Choose white, nude, or pale pink as your foundation.
2. Add Contrast Lines
Dip a thin brush or toothpick into gray or black polish. Draw light, uneven lines across the nail.
3. Soften the Lines
While polish is still wet, dab with plastic wrap to blur and create a natural stone-like pattern.
4. Finish Strong
Apply a glossy top coat. For extra shine, add two layers.
Pro Tips for Long-Lasting DIY Nails
- Let each layer dry fully before the next.
- Use Vaseline or a peel-off barrier around cuticles for easy cleanup.
- Stick to 2–3 shades for ombre—too many colors can look messy.
- For marble, practice on a nail tip first before doing all fingers.
Takeaway
DIY marble nails and DIY ombre nails aren’t as complicated as they look. With basic tools, patience, and these step-by-step techniques, you can achieve salon-worthy results at home without spending $60+.
Next time you want a fresh look, grab your sponge, polish, and plastic wrap—because now you’ve got the know-how to nail both marble and ombre designs at home.
Love nail art? Check out my guide on Trending TikTok Nail Hacks You Can Actually Try for more at-home designs.